Building a Real-Time Chat App With SignalR and Xamarin
Years ago, I was thinking about making my own chat app and I always think that building them would be a headache since I don’t know much about the things that I need to do to make it. My friend keeps on telling me that all you need is web sockets to build it, but I didn’t really have the time to research it until last month. Well, it wasn’t really web sockets, instead, I tried out SignalR and voila! It took me less than an hour to build a very basic real-time chat application.
So what is a ‘real-time’ app?
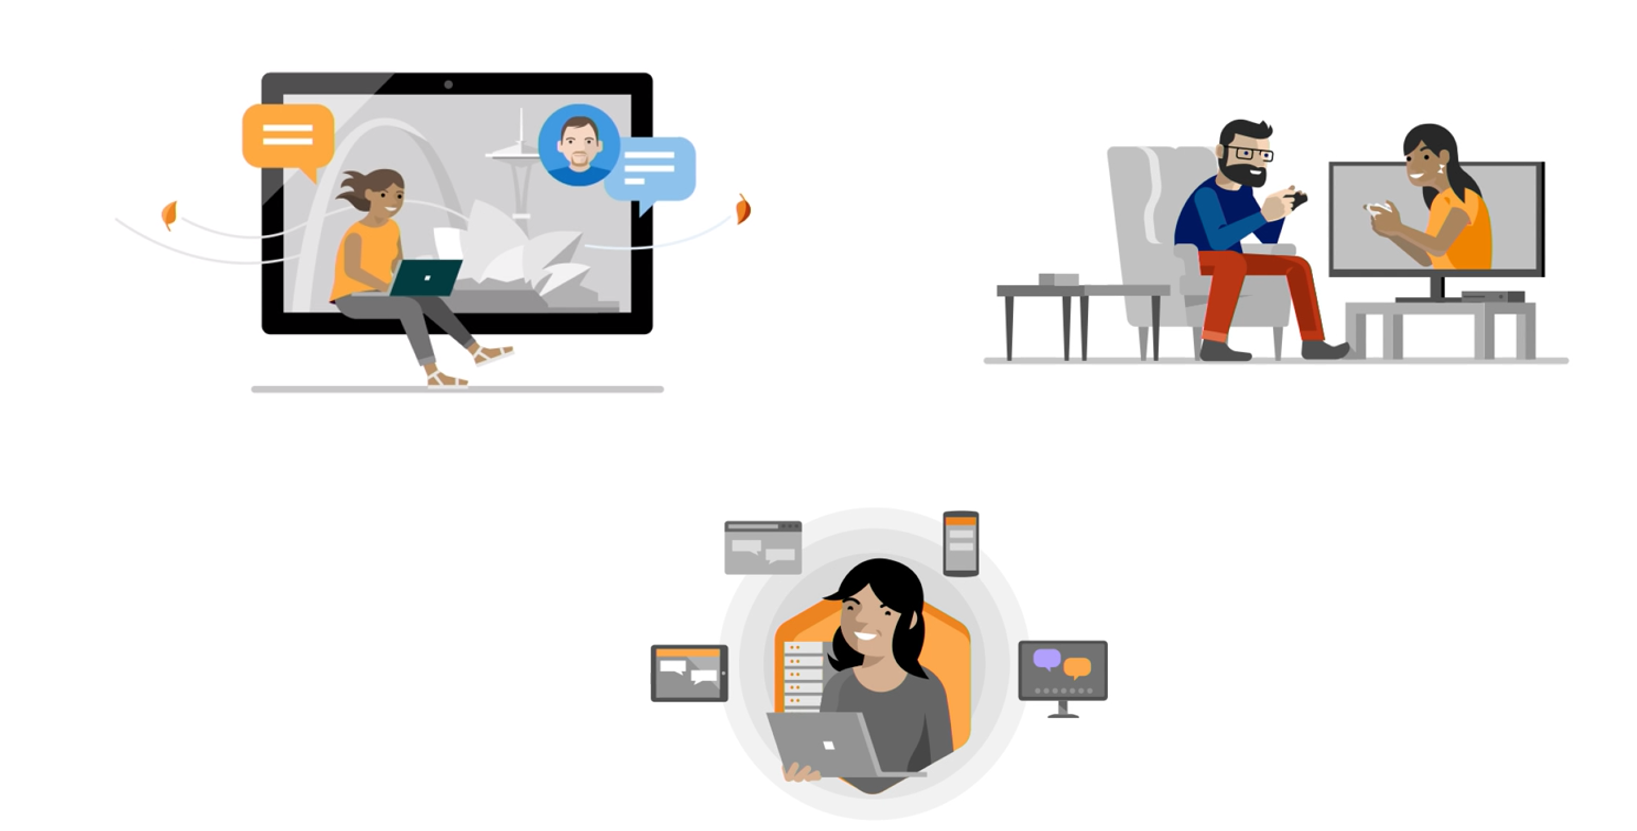
Real-time apps are basically apps where you get the data on demand. An example of this is a MOBA or “Multiplayer online battle arena”. Basically, when you’re playing with your friend; when you move your character on your device, your character should move on his/her device as well, simultaneously, because again, it should happen REAL TIME.
And of course, another example of that is a chatroom. In a chatroom, when you send a message, it should be received by everyone at the same time and as soon as possible.
How can I create a ‘real-time’ app?
Well, you can always integrate your app with WebSockets or some sort of push notifications to receive the data as it is sent. However, Microsoft has this thing called SignalR. It’s a service and framework made by Microsoft to enable you to build real-time applications from your backend to your frontend.
How does SignalR work?
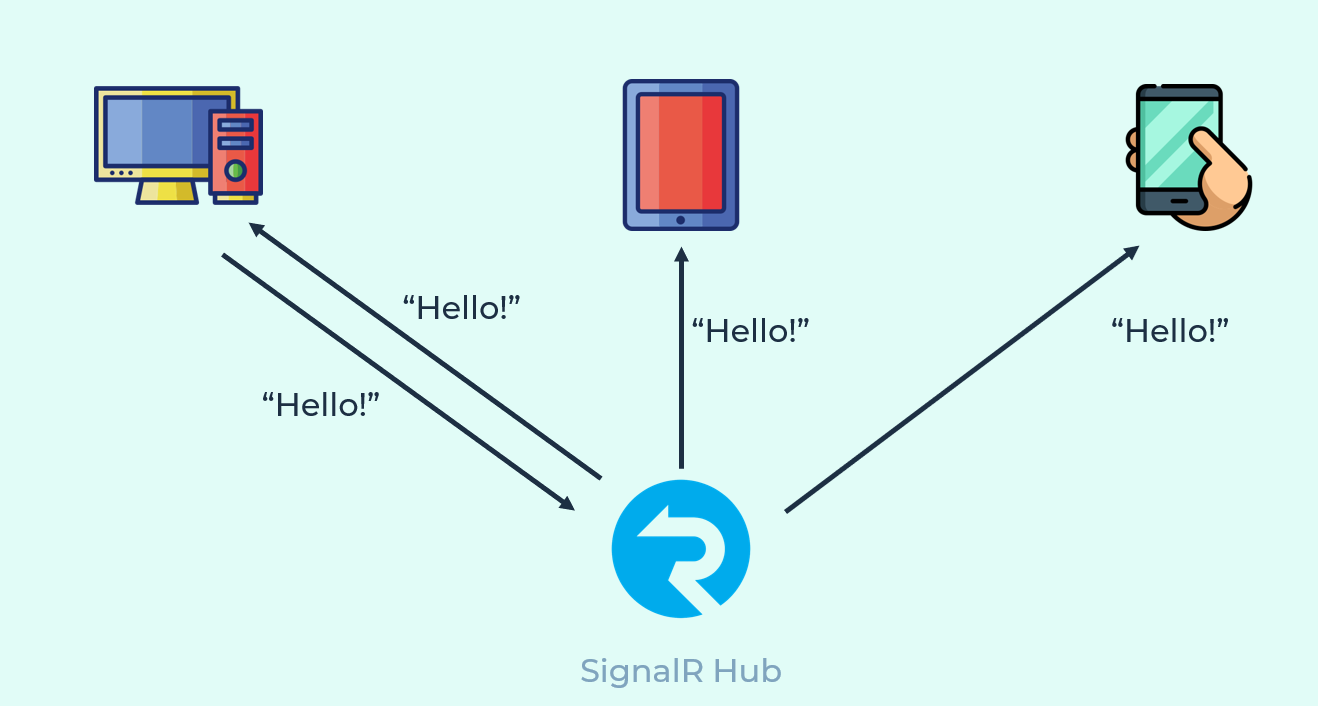
Basically, there’s this SignalR hub, and this hub is processing all of the communication to and from your clients. (If you’ve heard of ‘Hub’ in networking terms, it works exactly the same as that!)
So, a common scenario is we send want to send out a notification to anyone that is listening.
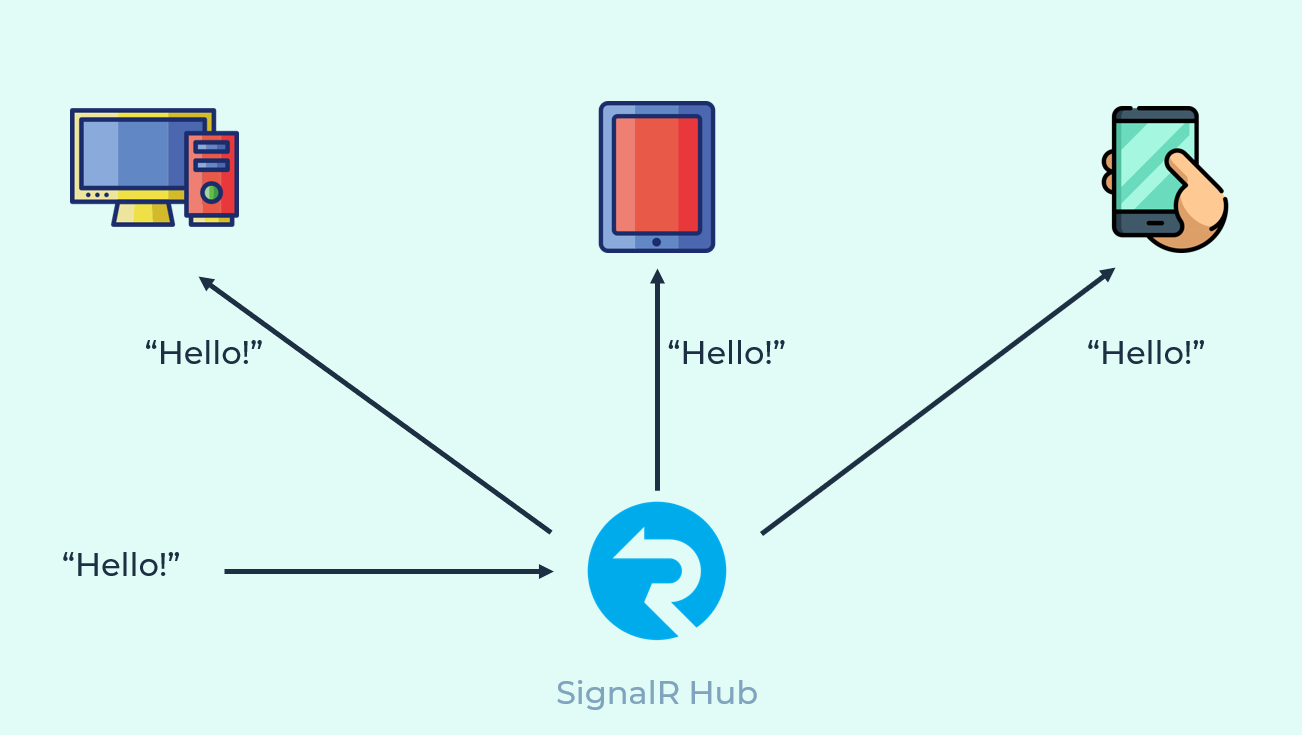
Another scenario here is that when one of the clients sends out a message to the SignalR service backend, it will be received by everyone who’s subscribed to a specific ID. So, this might be familiar to you guys. This is a scenario that is used for chatrooms.
So, SignalR…
-
Automatically Handles Connections
- Sends messages simultaneously to:
- All connected clients
- Group of specific clients
-
Scales to handle increasing traffic
- Transports to WebSockets, Server-Sent Events, and Long-Polling.
SignalR SDKs
You have SDKs for both the hub itself and the client.
-
For the hub, you can always use ASP.NET Core and SignalR library is readily available for you. You can just use the
Microsoft.AspNetCore.SignalRnamespace and it’s good to go. There’s also this Azure SignalR Service, but we’re not gonna discuss it here. -
For the client, you can connect, send and receive thru an SDK. Which is available not only for .NET, but also for JavaScript/Typescript, and Java.

Trying it out!
Creating the Hub
So, the hub is basically the backend service where your user subscribes, listens, and sends messages/data. To build this, all you need to do is to create a new ASP.NET Core Web App. Then you just have to include the SignalR namespace to use it in your code:
using Microsoft.AspNetCore.SignalR;
using System;
using System.Collections.Generic;
using System.Linq;
using System.Threading.Tasks;

namespace SignalRChat.Hubs
{
    public class ChatHub : Hub
    {
        public async Task SendMessage(string user, string message)
        {
            await Clients.All.SendAsync("ReceiveMessage", user, message);
        }
    }
}
This code right here is the Hub itself.
The SendMessage handles all of the messages sent to the SendMessage which will then send the message to anyone who’s actively listening to ReceiveMessage. This is all you need for the hub, but you still have to configure something on your ASP.NET Core Web App.
Open the Startup.cs and at the end of ConfigureServices method, add this line of code:
services.AddSignalR();
Then on the “Configure” method, add this block of code right before UseMvc:
app.UseSignalR(routes =>
{
    routes.MapHub<ChatHub>("/chatHub");
});
NOTE: Please disable app.UseHttpsRedirection(); under the Configure method when testing in on the mobile app locally.
That’s all you need to do! Your hub is done! Now the next thing that you need to build is the client app.
Integrating the Hub to your Xamarin App
First things first, you need to download and install this NuGet package on all your projects (iOS, Android, Windows, and the shared code)
Once it’s installed, you can now use the client SDK. Now it’s time to code!
You can now create the hub connection by configuring the URL where it will connect. You can run the hub locally or you can publish it on Azure.
 hubConnection = new HubConnectionBuilder()
        .WithUrl("{https://yoururlhere.com or ip:port or localhost:port" + "/chatHub")
        .Build();
Once done with the configuration, we can start the connection. Connecting is basically listening to the hub. You also have a disconnect functionality that stops the device from listening to it.
        async Task Connect()
        {
            await hubConnection.StartAsync();
        }
        async Task Disconnect()
        {
            await hubConnection.StopAsync();
        }
Now, we can start sending and receiving messages.
Sending Messages to the Hub
You can send messages thru SendAsync or InvokeAsync (the difference is the InvokeAsync returns some success/failed response). See code below:
async Task SendMessage(string user, string message)
        {
            await hubConnection.InvokeAsync("SendMessage", user, message);
        }
Basically, what’s happening here is we’re sending a message thru a key named SendMessage and it will look for a hub method on our hub that matches it. If you remember, we have a SendMessage method on the Hub that we created earlier. Then, we’re just passing in two data, the name of the user and the text message.
Receiving Messages from the Hub
This is as easy as setting up a listen function on your code using the On method. When this method is fired, that means a message was sent to whatever you’re listening on. In this example, we’re listening to ReceiveMessage. Now, when you receive something from the hub, this is the time where you update something on your UI or just basically do something that you need to do.
hubConnection.On<string,string>("ReceiveMessage", (user, message) =>
            {
           //do something on your UI maybe?
            });
And that’s all that you need, once you run the app on multiple devices, you should now be able to connect to the hub, send and receive messages to/from other devices!
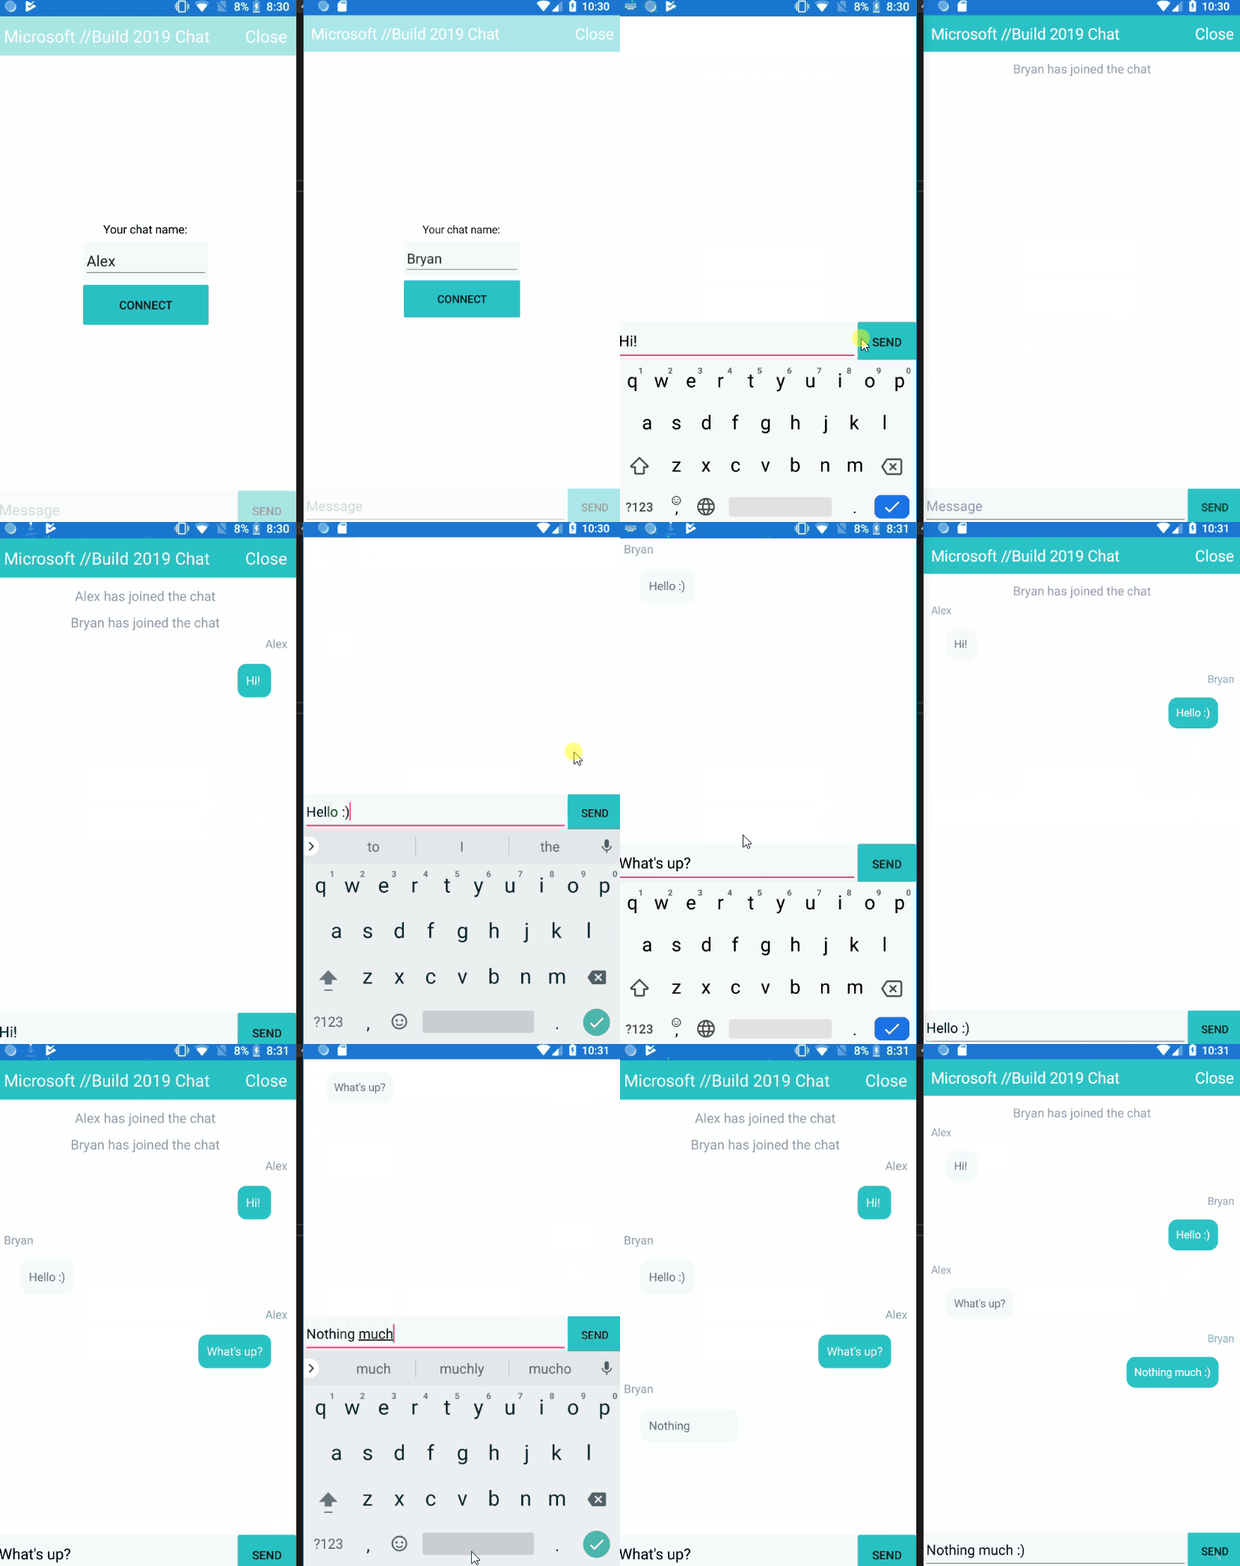
If you want to try it out on your own, here’s the source code for the hub and the client app. You can toggle the branch to get to the starting point, the basic chat, and the group chat.