
Installing Visual Studio for Mac

It’s been a while since I last posted an article. I’ve been really busy with the technical training sessions I’ve been facilitating. Not only that, the craziest thing also happened to me just last week. My personal laptop, where I keep all of my important files, do all of my mobile development, etc., has succumbed to the ephemeral nature of its existence. In short, it’s broken. I still have three upcoming events and I need a machine to share my presentation and do the demos. Luckily, my company lend me a Mac.
The “Problem”
The thing is, this is the first time I’m going to use a Mac and I’m kind of not really happy using a Mac machine since I’ve been a solid PC master race member since birth. So, yeah, this is new to me. Yes, I have no problems with showing my presentations to the audiences using Mac. What I was worried about is my development setup. How can I demo Xamarin Development? (I’m kind of underestimating the power of Mac :P) And yes, I knew that Visual Studio for Mac exists, but I wasn’t sure what else to setup other than that. I thought I needed to install different components, configure a couple of stuff, etc. But I was wrong. So so wrong. All I needed to do was to launch Visual Studio Installer and install Visual Studio for Mac and that’s it!
Download Visual Studio Installer for Mac
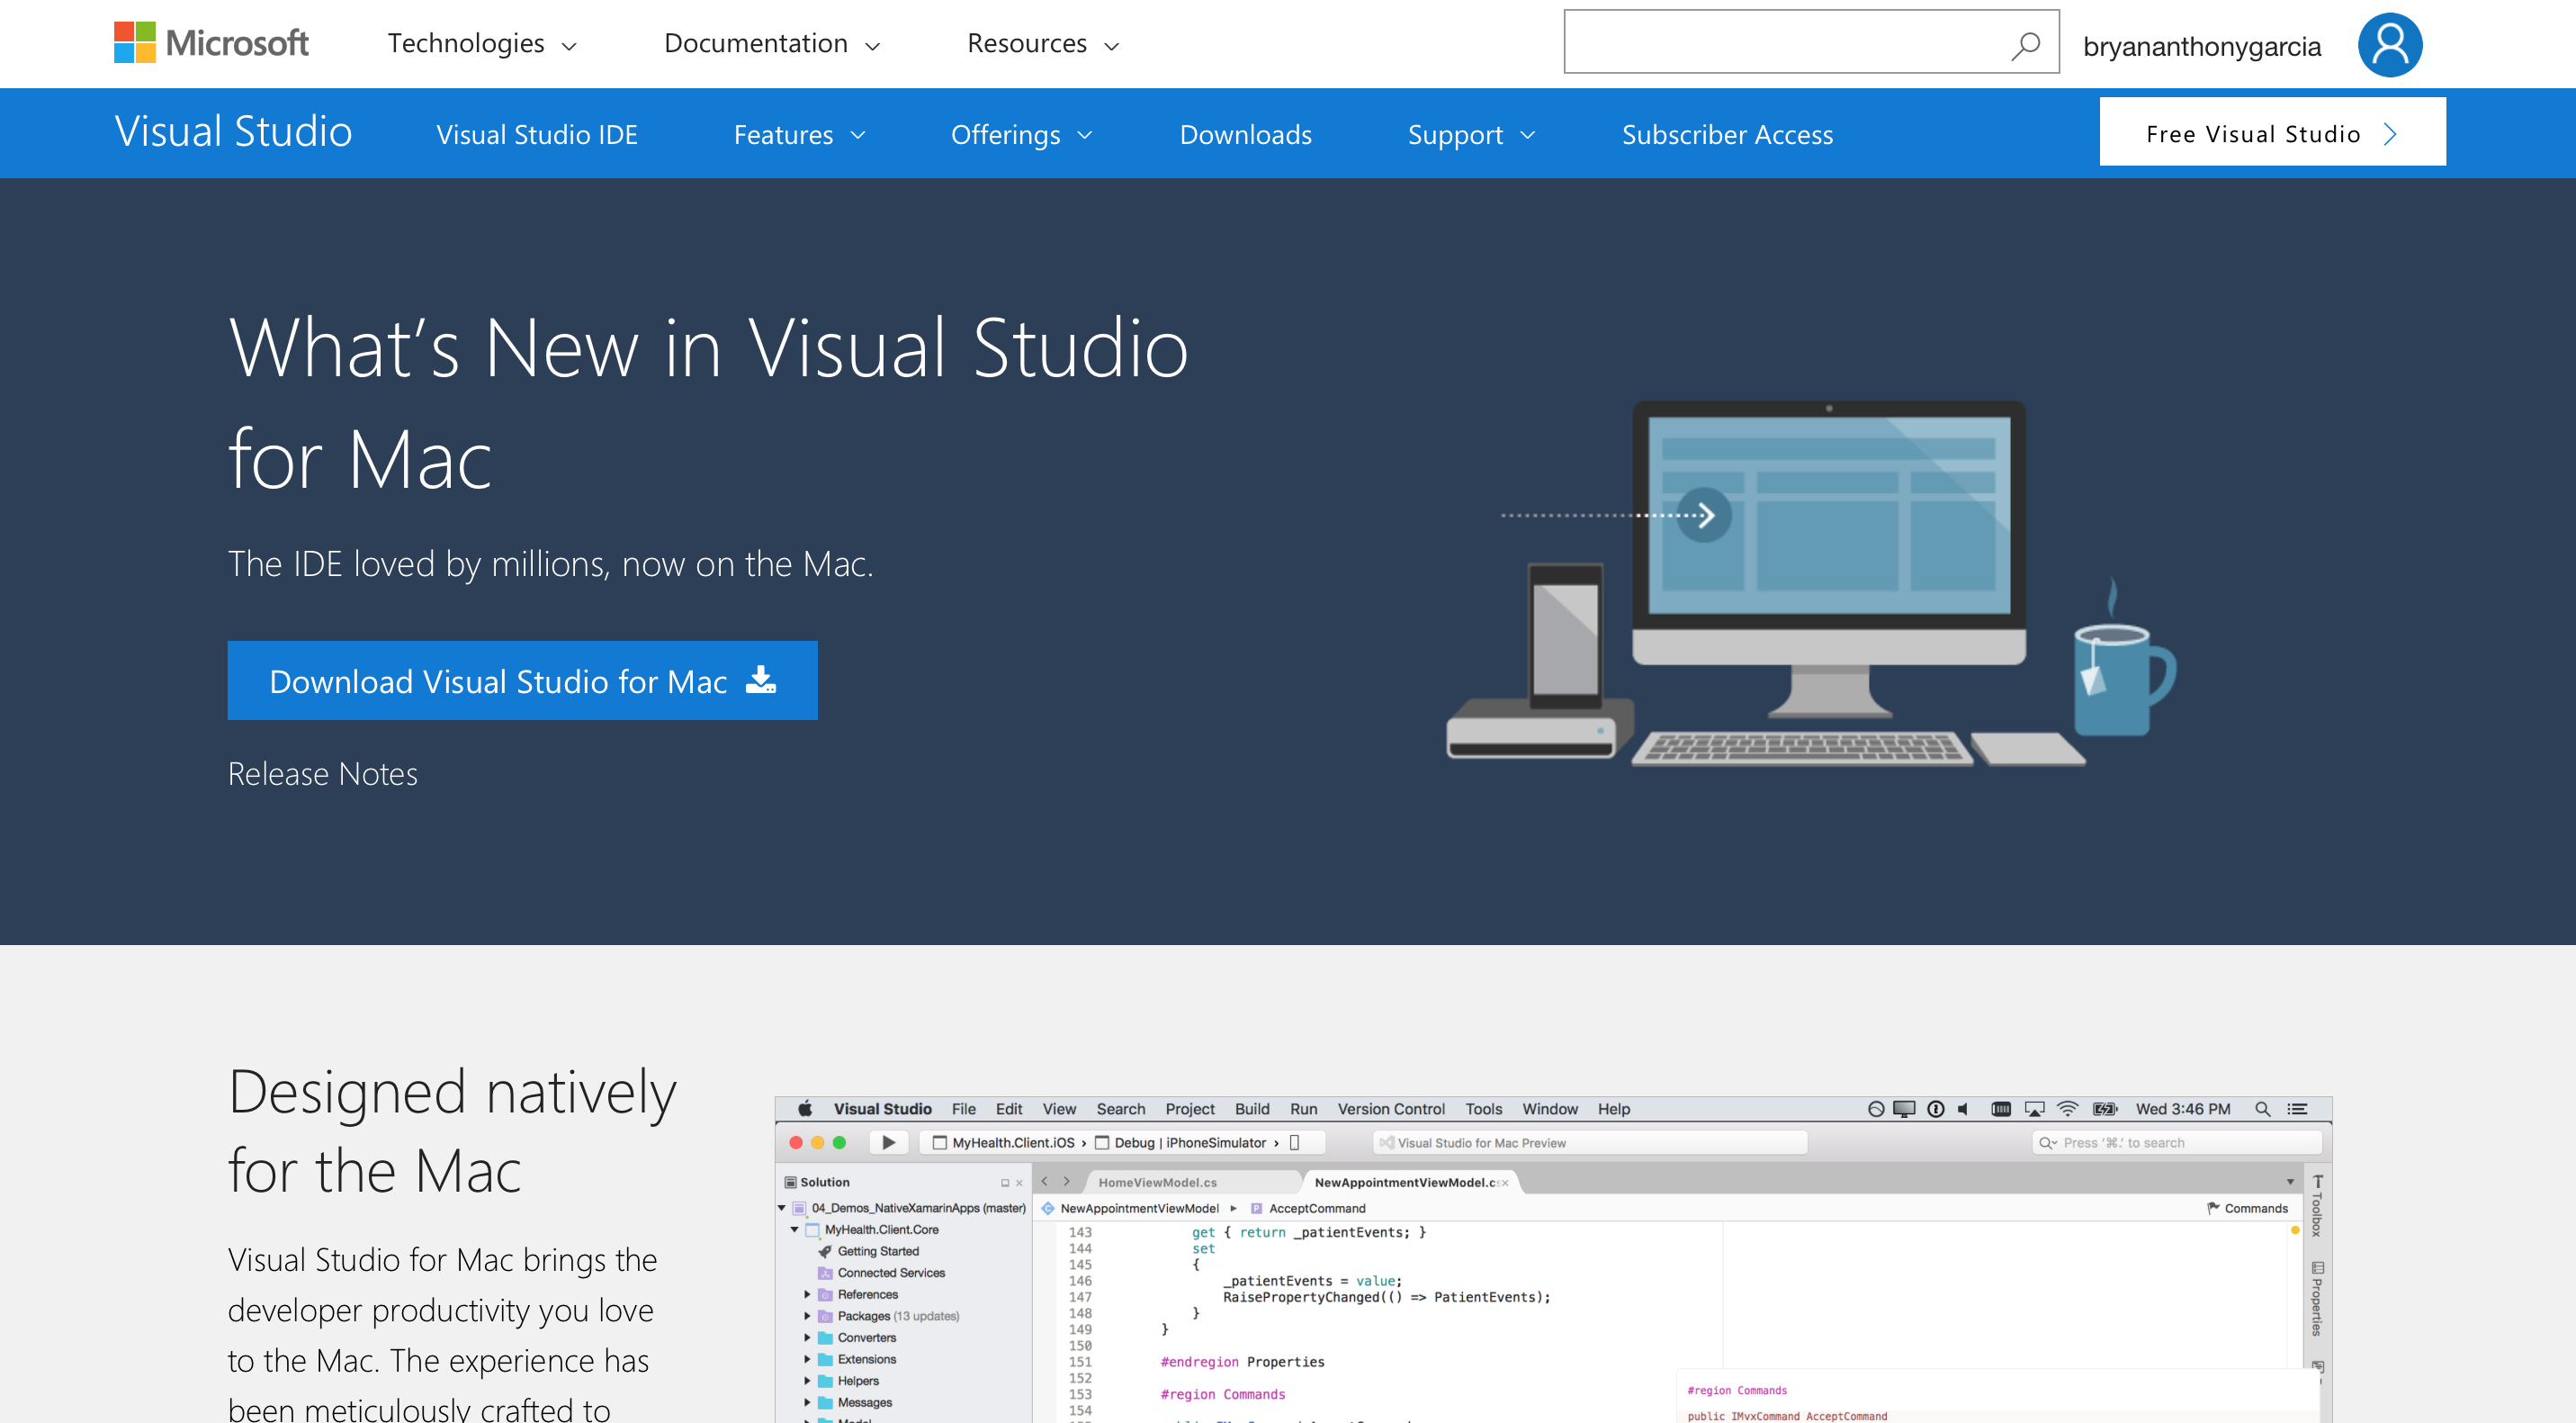
First of all, what you need to do is to download the Visual Studio Installer by going to this link and click the Download Visual Studio for Mac button. It will download a disk image (.dmg) file of Visual Studio Installer.
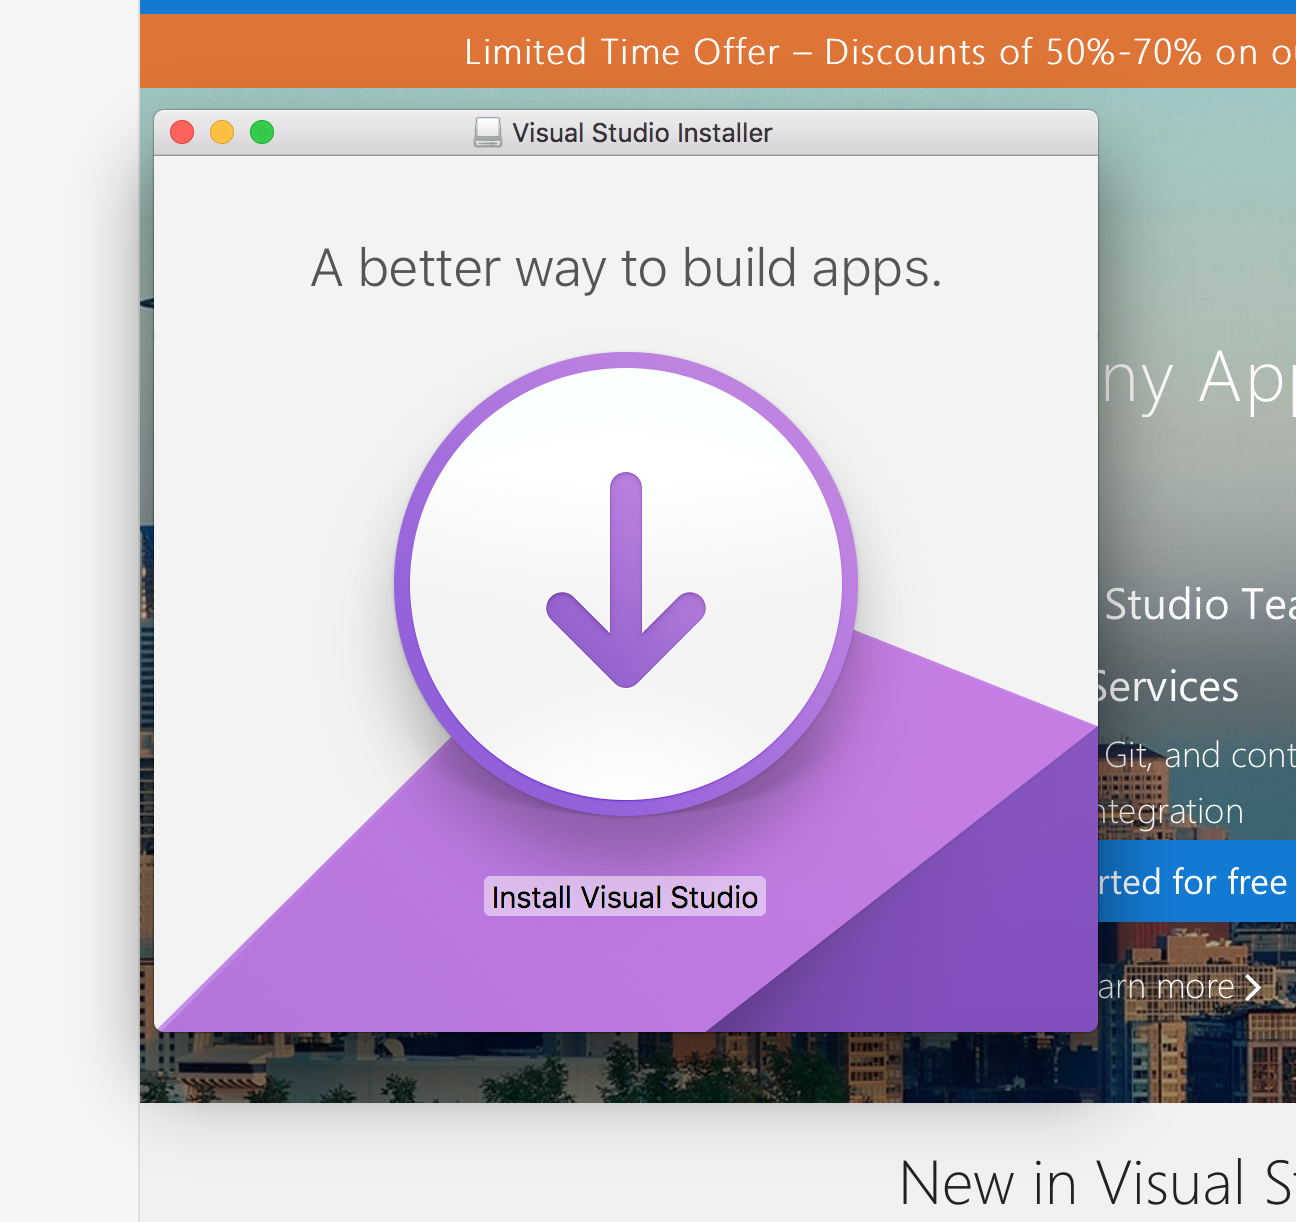
Launch the Visual Studio Installer
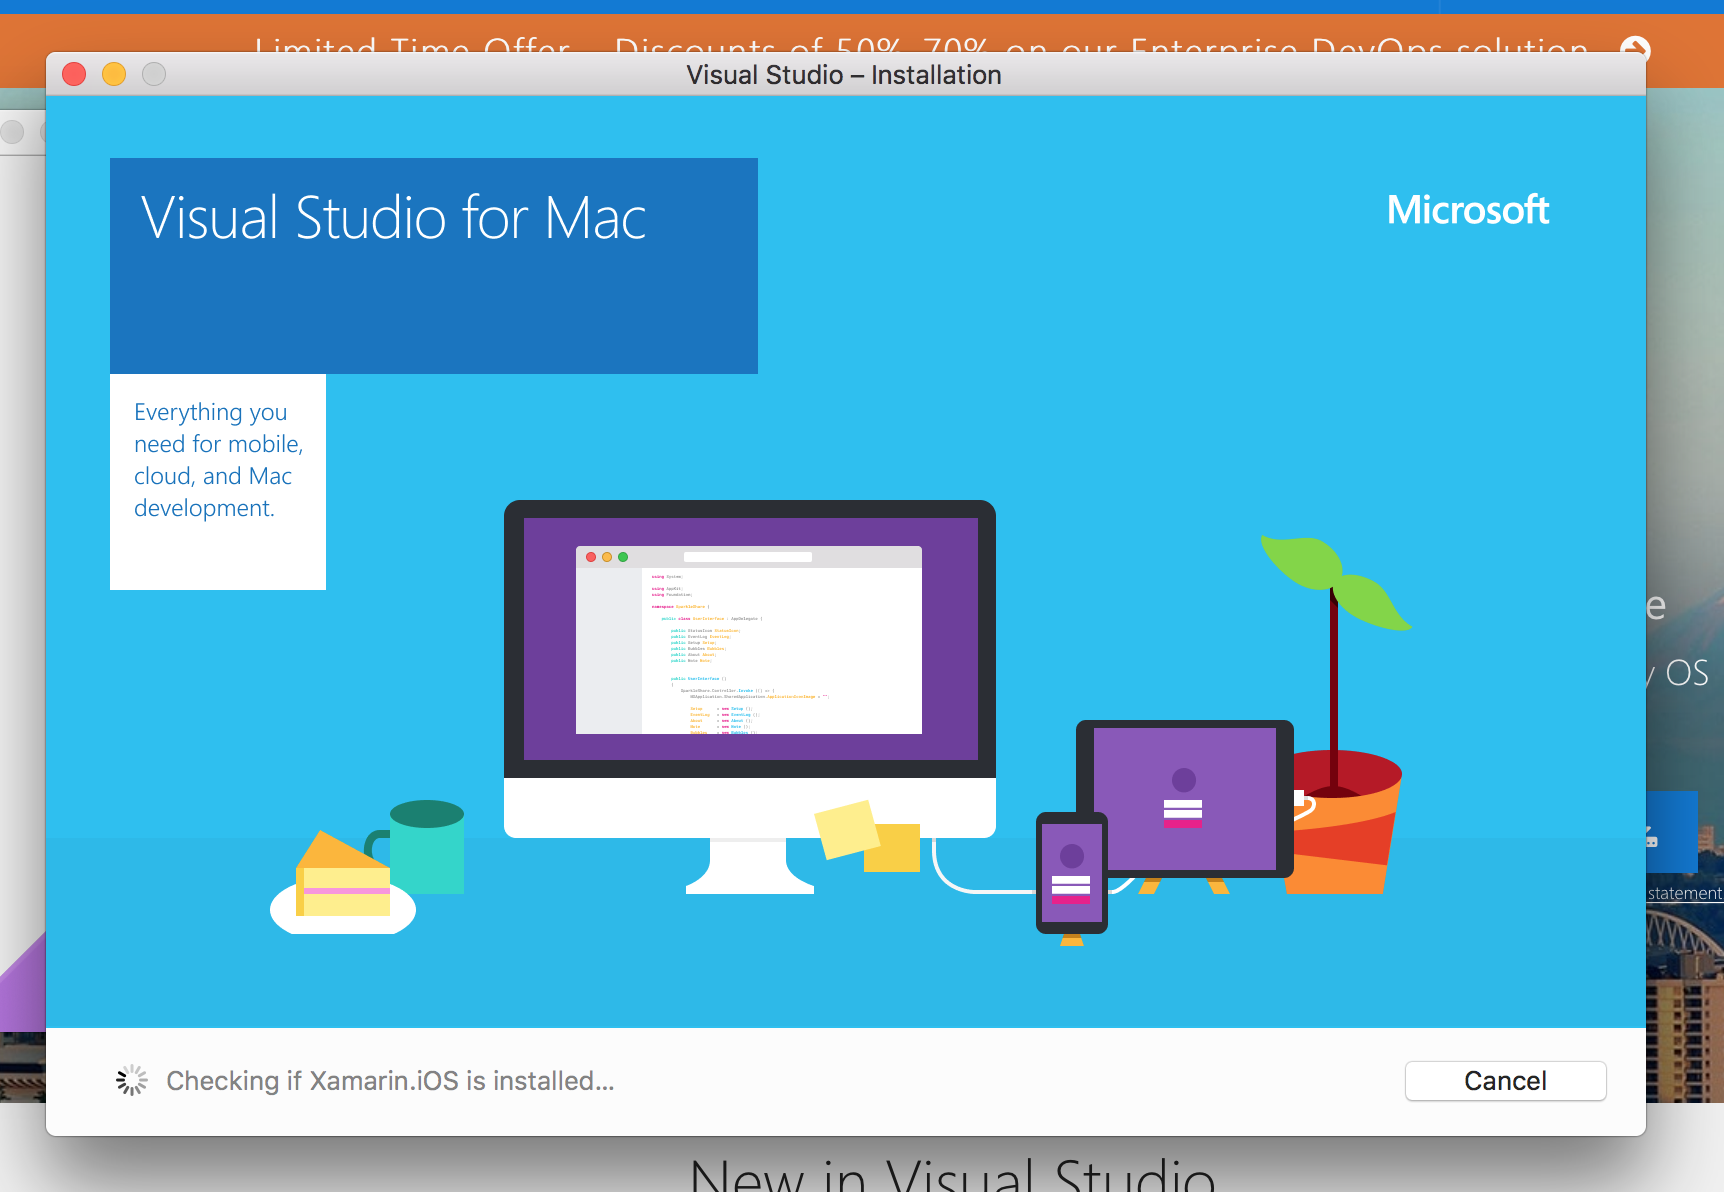
Once done downloading the installer, you can launch it and you will see this application. You can just press the big install icon. It will check if some of the components are installed and load a couple of stuff and proceed to the next installation step.
A popup will appear wherein you can read the license terms. You can just press continue.

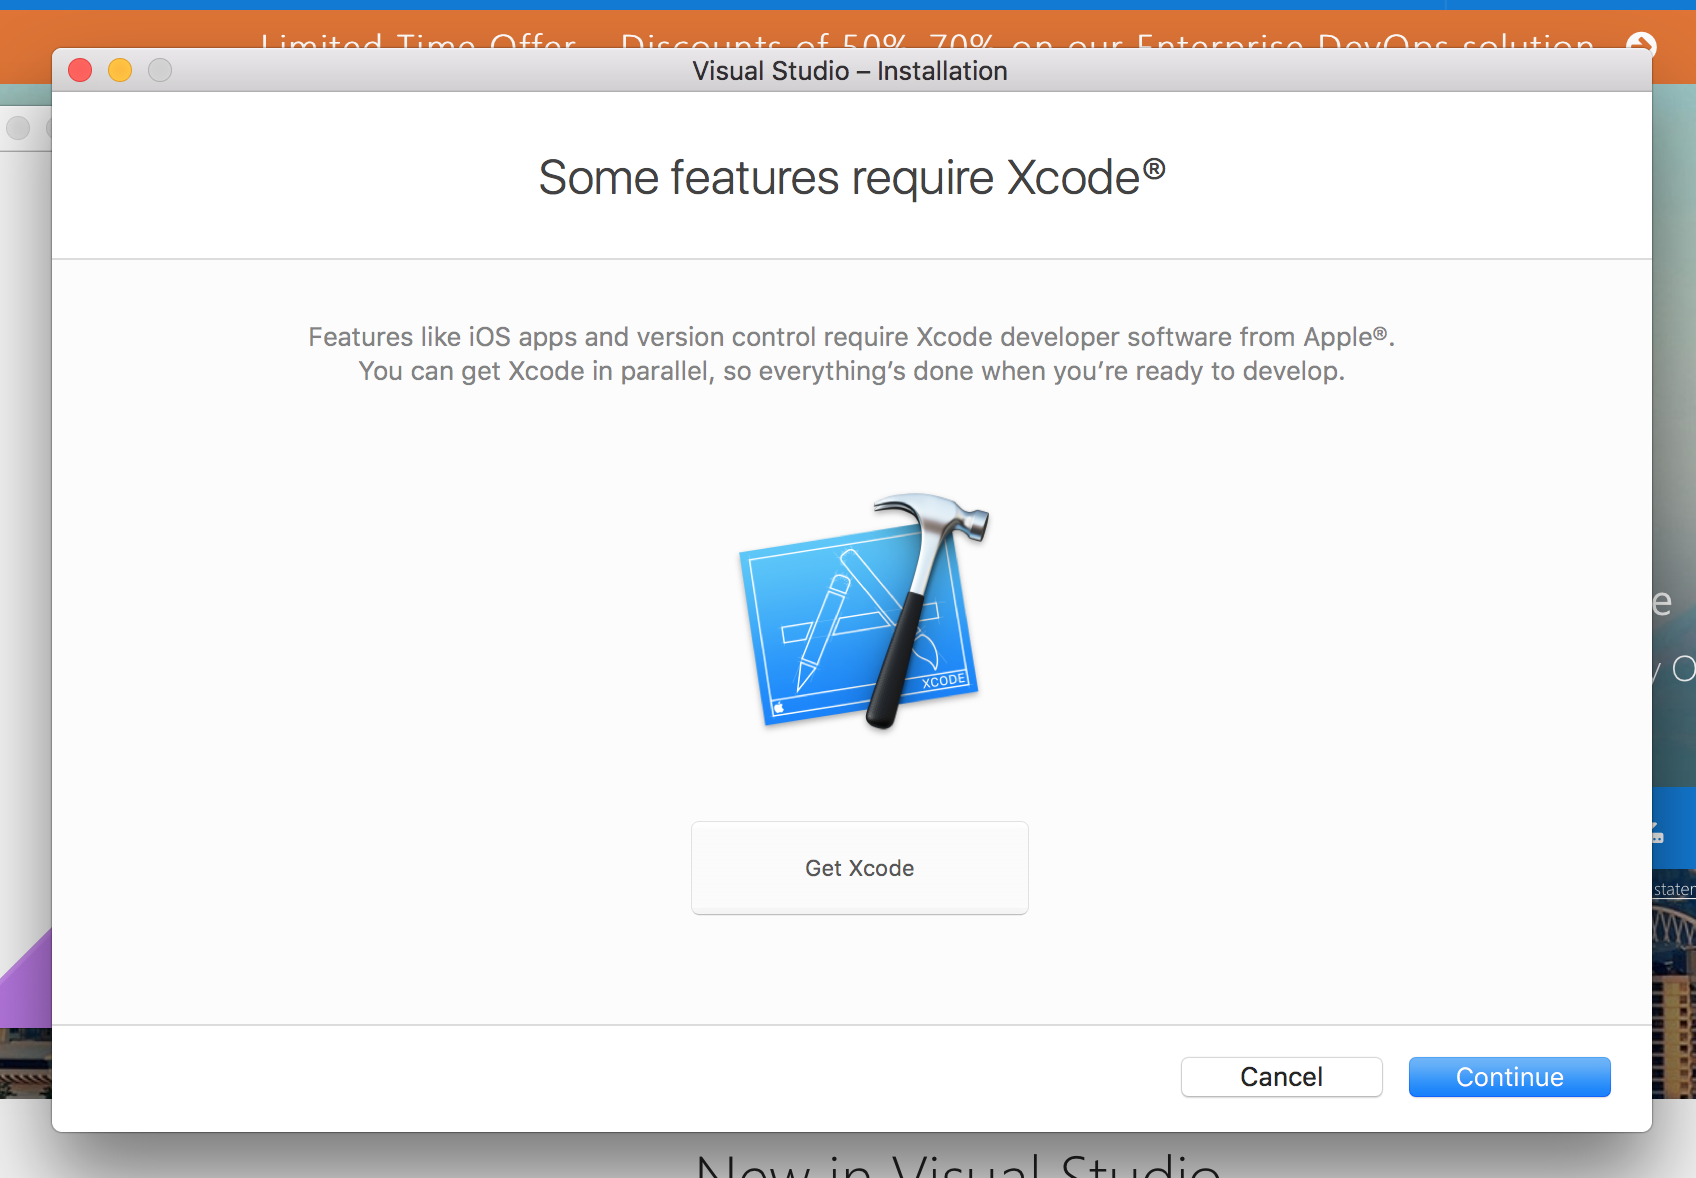
Getting Xcode (Optional)
If you’re only developing an application for Android, you can skip this step. Though, most likely, you will. So you need to install Xcode by clicking Get Xcode. We will not discuss how to install Xcode, we will focus on the Visual Studio installation.
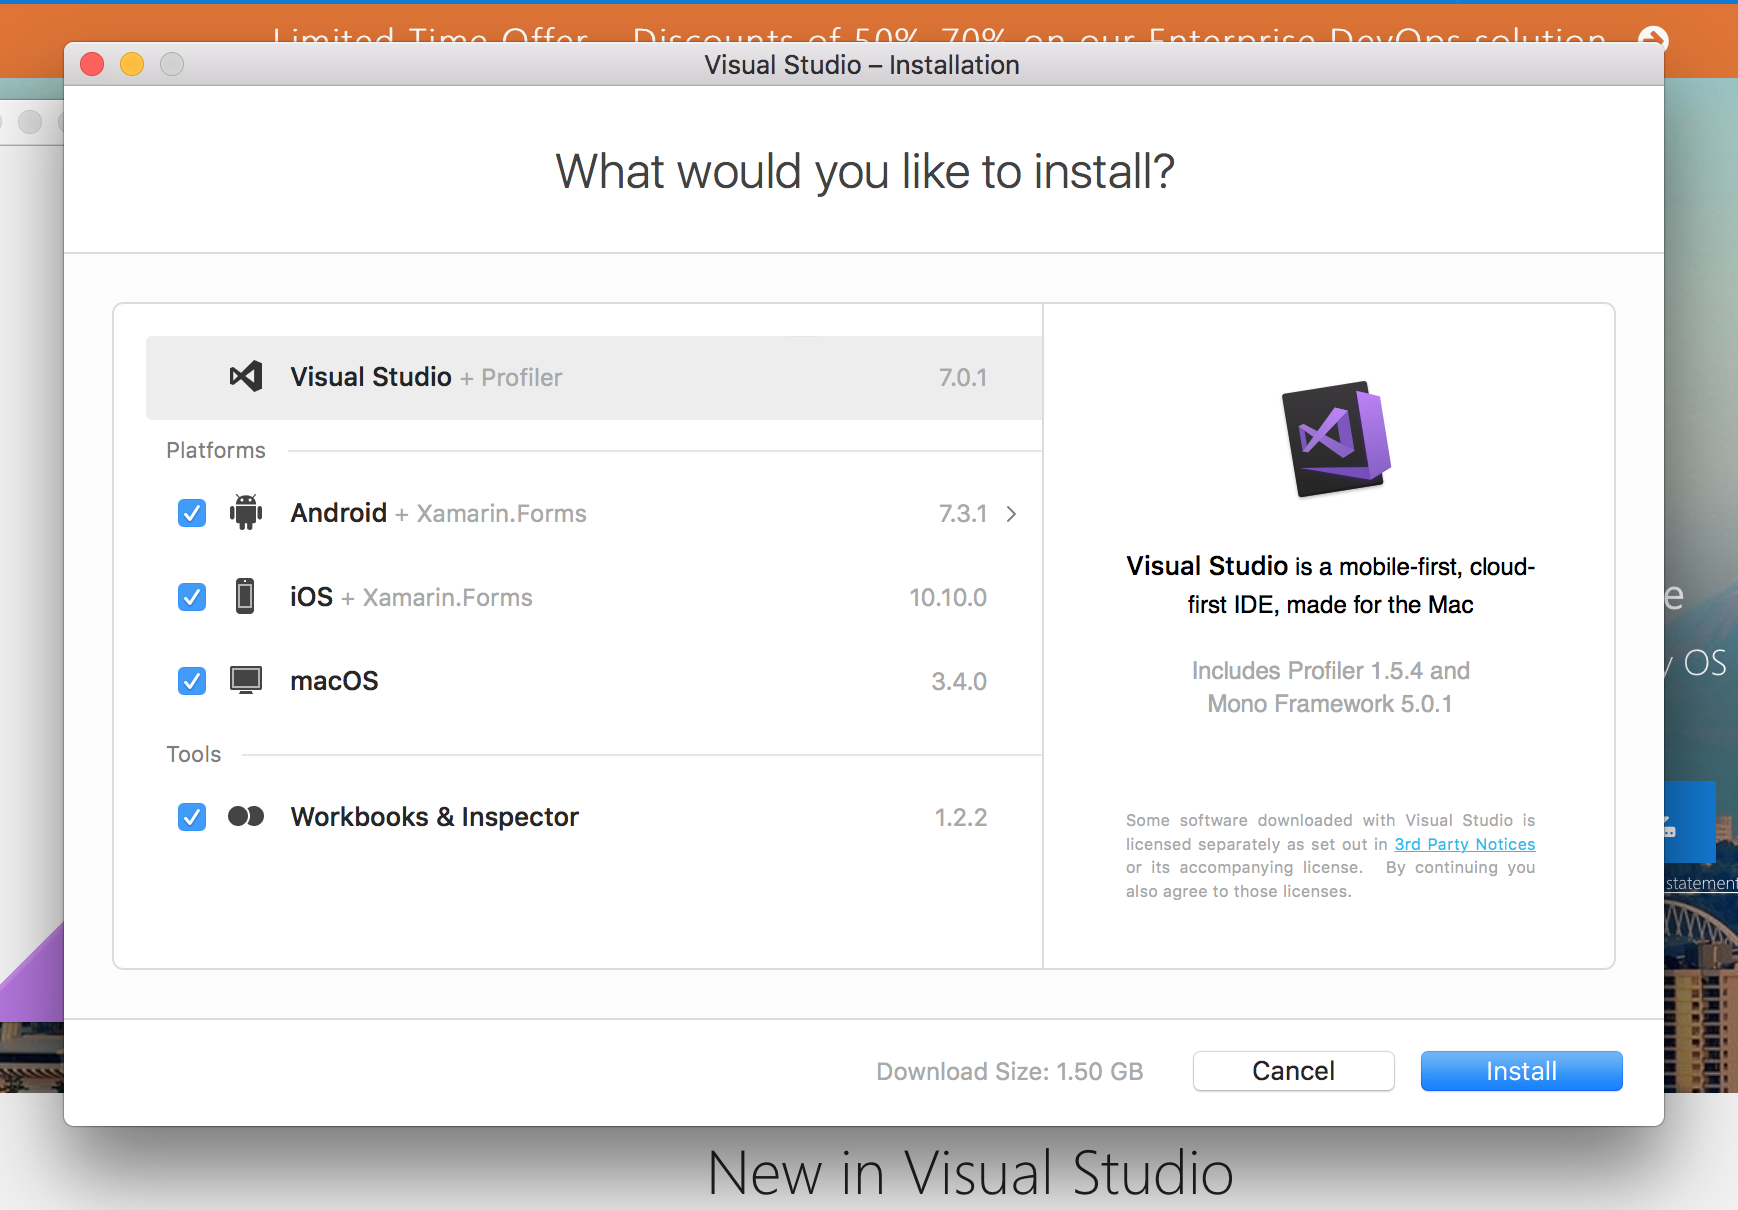
What would you like to install?
This is the next step on your installation. This will install the Visual Studio IDE + Xamarin Profiler Which you can use to find memory leaks, resolve performance bottlenecks, and add polish to your apps before getting them out the door. The next two categories are the platforms and tools. For the platforms, you have Xamarin Native development for Android and iOS (both include the Xamarin.Forms). You also have macOS development. For tools, you have Xamarin Workbooks and Xamarin UI Inspector. All platforms and tools are initially checked, but you can excluded any of them. But, I would suggest to install all of them, because they’re all significant. Well, I guess you won’t be using macOS :P
IDE, Platform and Tools Installation
After selecting the platform and tools that you want to install, you can finally continue will the actual installation. I installed all platforms and tools and it took me 3 hours (my connection sucks). The installation will ask for your machine credentials for a couple of times. It won’t continue with the installation unless you type in your credentials.

Launch Visual Studio
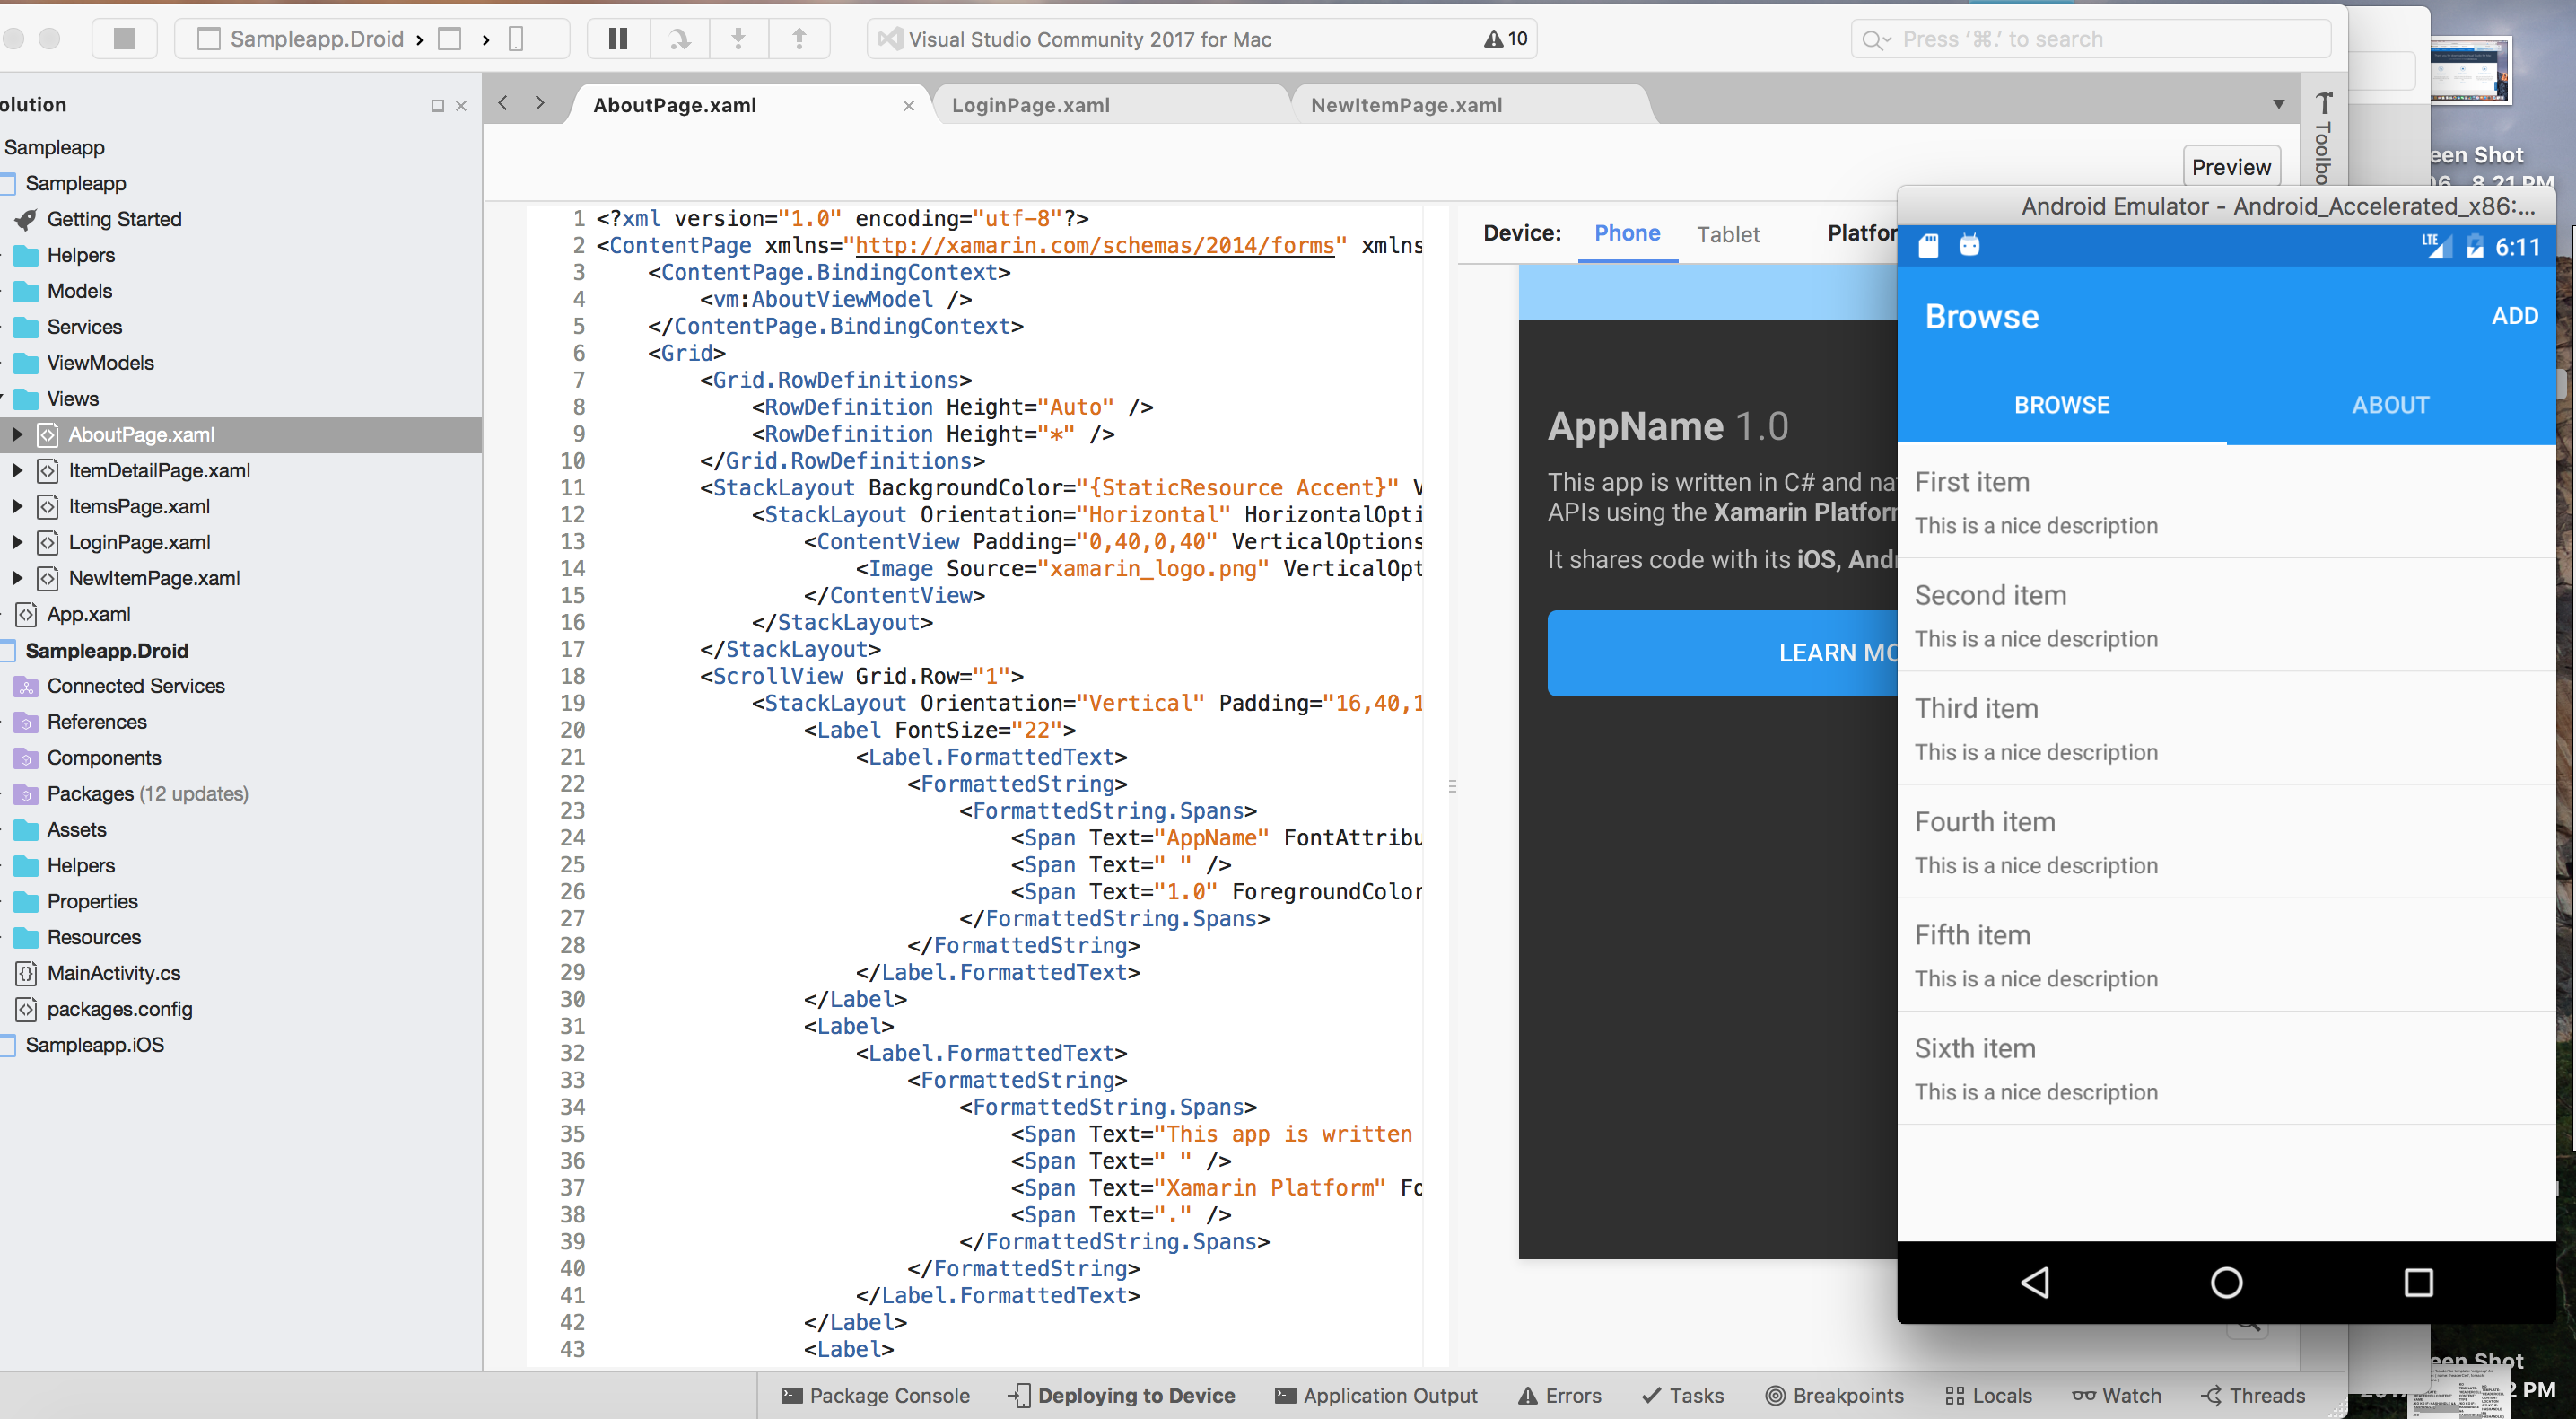
Once done with the installation, you can now launch Visual Studio! Nope, there is nothing else you need to download and install. You can now create a new Xamarin project and run it without any issue. You also have the XAML previewer running here and it looks really clean.
This makes me really happy, because I was thinking it will consume a lot of my time setting my development environment up. Apparently, Visual Studio Installer is all I need. This article really won’t help you that much with the installation. This is more of a reaction to Visual Stuio for Mac and also an appreciation blog post for the Visual Studio team. I really appreciate it, because it’s hassle-free. Hope you Mac guys try Visual Studio for Mac out, too. Happy coding!
Reference/s: