
Integrating Xamarin Test Recorder for Mac and Xamarin Test Cloud
Back in 2009, there’s this Apple slogan that says, ’There’s an app for that’ and boom, 1, 2, 3 apps popped out in the marketplaces. And now, 7-8 years later, it happened more and more. Thousands of apps are out there. There’s almost an app for everything, may it be snack size or enterprise applications. Any functionality that you can imagine (well, not really, but you get the point).
As developers, we have to move quickly. The competitions out there and they’re ready to replace us in the app store. We can’t afford to break anything and to do that, writing code is no longer enough. We have to test them before we release them in the public. We have to make sure that all important flow is working. The app is not crashing and it looks just like how we want it on all devices and OS versions, because users have crazy expectations.
Yes, it’s easy to say that what we need to constantly test our application, but it consumes so much of our time doing these repetitive testing just to get the bare minimum viable quality. And it’s not just because of repetitiveness, but the complexity is extraordinary. I’m talking about the amount of devices that you need to satisfy. For iOS, there are numerous, iPhone 5, 5s, 6, 6s, 7, and even the iOS version. But, if we talk about android devices. There are thousands out there. Different make, size, version, etc. It’s practically impossible to cover all of them.
Some of Xamarin developers out there might have implemented an automated testing using Xamarin.UITest, if you’re one of them, that’s really awesome! But, as developers, we want to focus on the app development instead of creating tests. Microsoft have something to offer that will make your mobile app testing so much easier and so much better. I’m talking about Xamarin Test Recorder. It’s a tool where you can simply interact with your app as you normally would with taps, swipes, and gesture, and it records each step. The output is the Xamarin.UITest code test script without writing a single line of code. All you need is Xamarin Test Recorder for Mac, an Android/iOS emulator, and your application’s .apk/.app file.
Getting Started
To get started with Xamarin Test Recorder, all you need to do is to download the Xamarin Test Recorder application here. Keep in mind that I’m using a Mac for this article. For Windows, you will have to download an install a Visual Studio extension. After downloading the installer, you can just run the package file and follow the installation wizard to install the Xamarin Test Recorder.
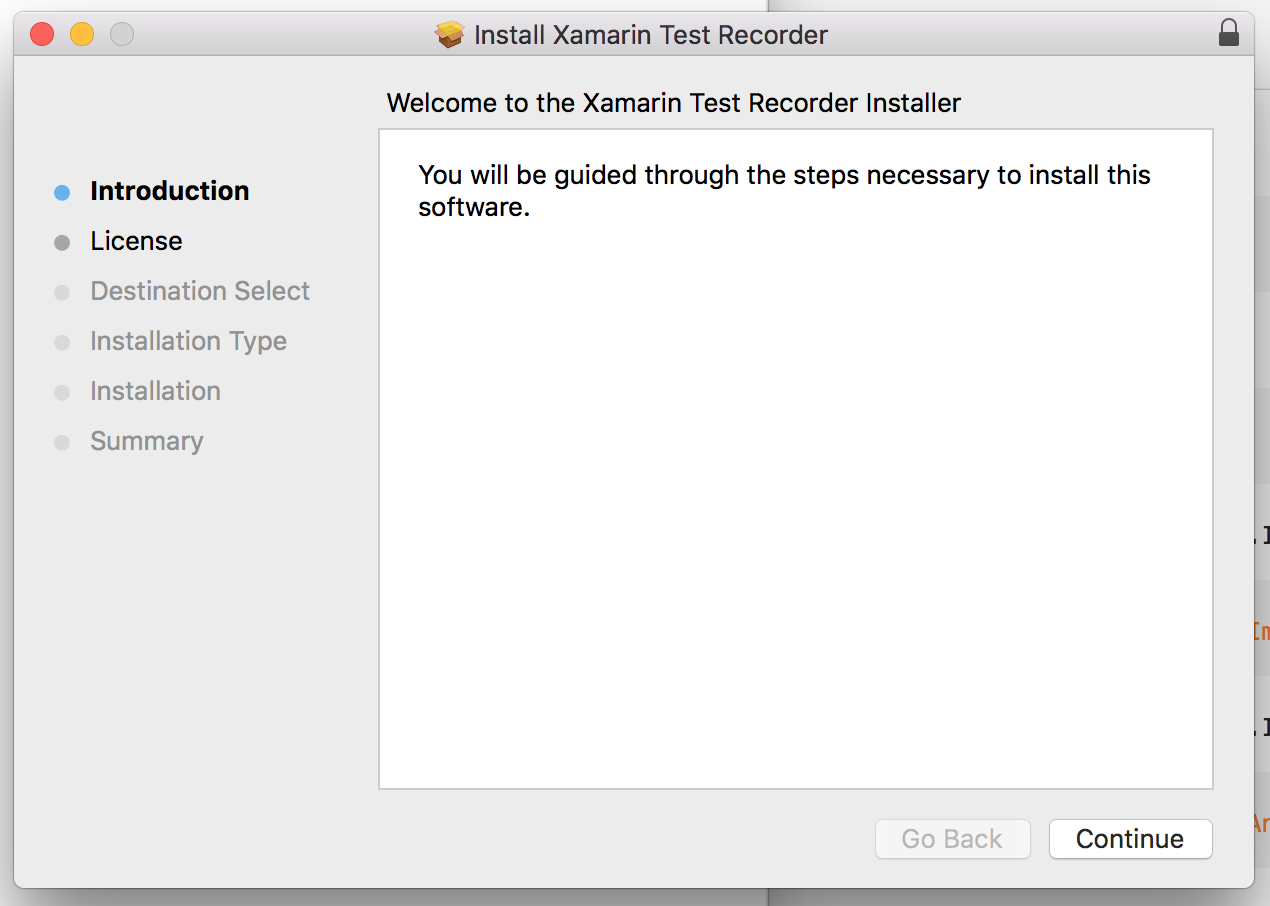
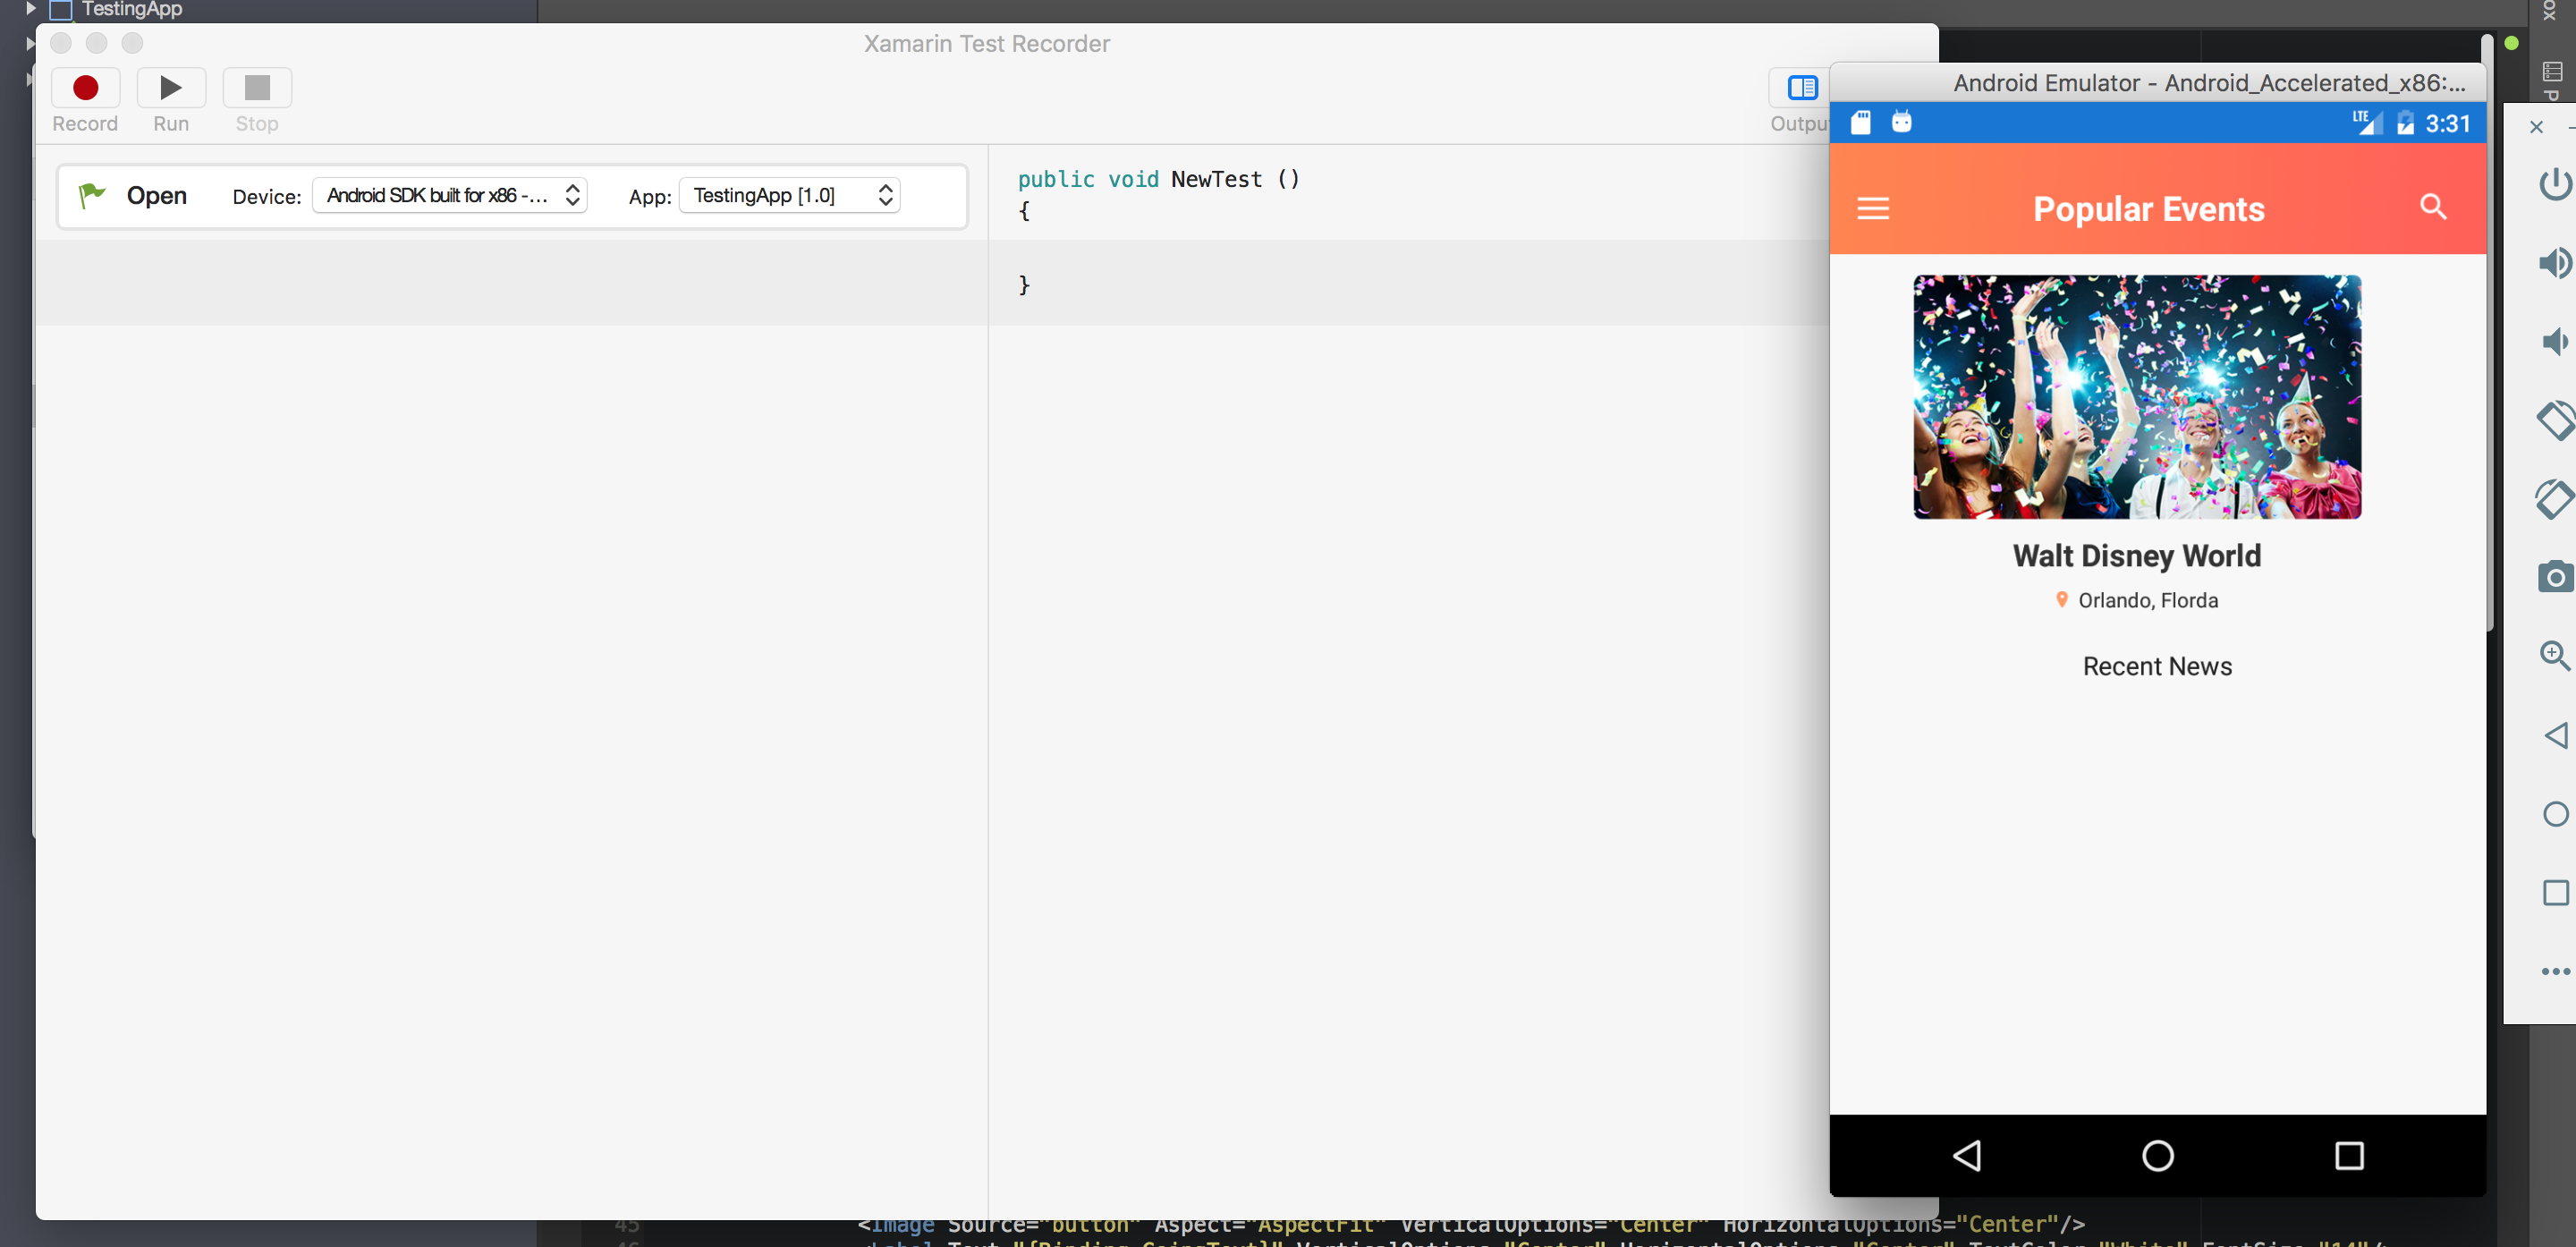
Once done with the installation, you can run it and you should now see the Xamarin Test Recorder. This is how it looks like:

If you’re seeing the same application, you don’t have to setup anything else. We’re now ready to record our tests!
Selecting a Device and an Application to Test
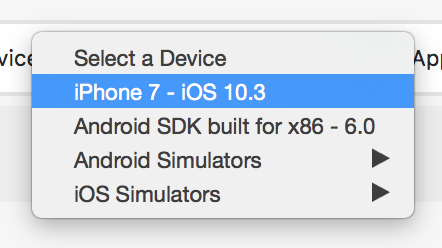
After running the application, you will see this ‘Open’ pane wherein you can see two dropdowns for the selections of Device and Application.

You should first select a device to proceed with the selection of the application. You can either select an android or iOS device/simulator.
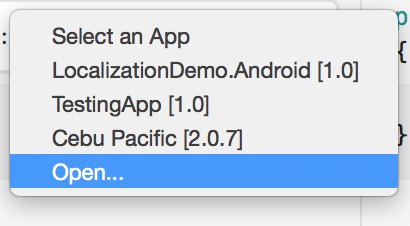
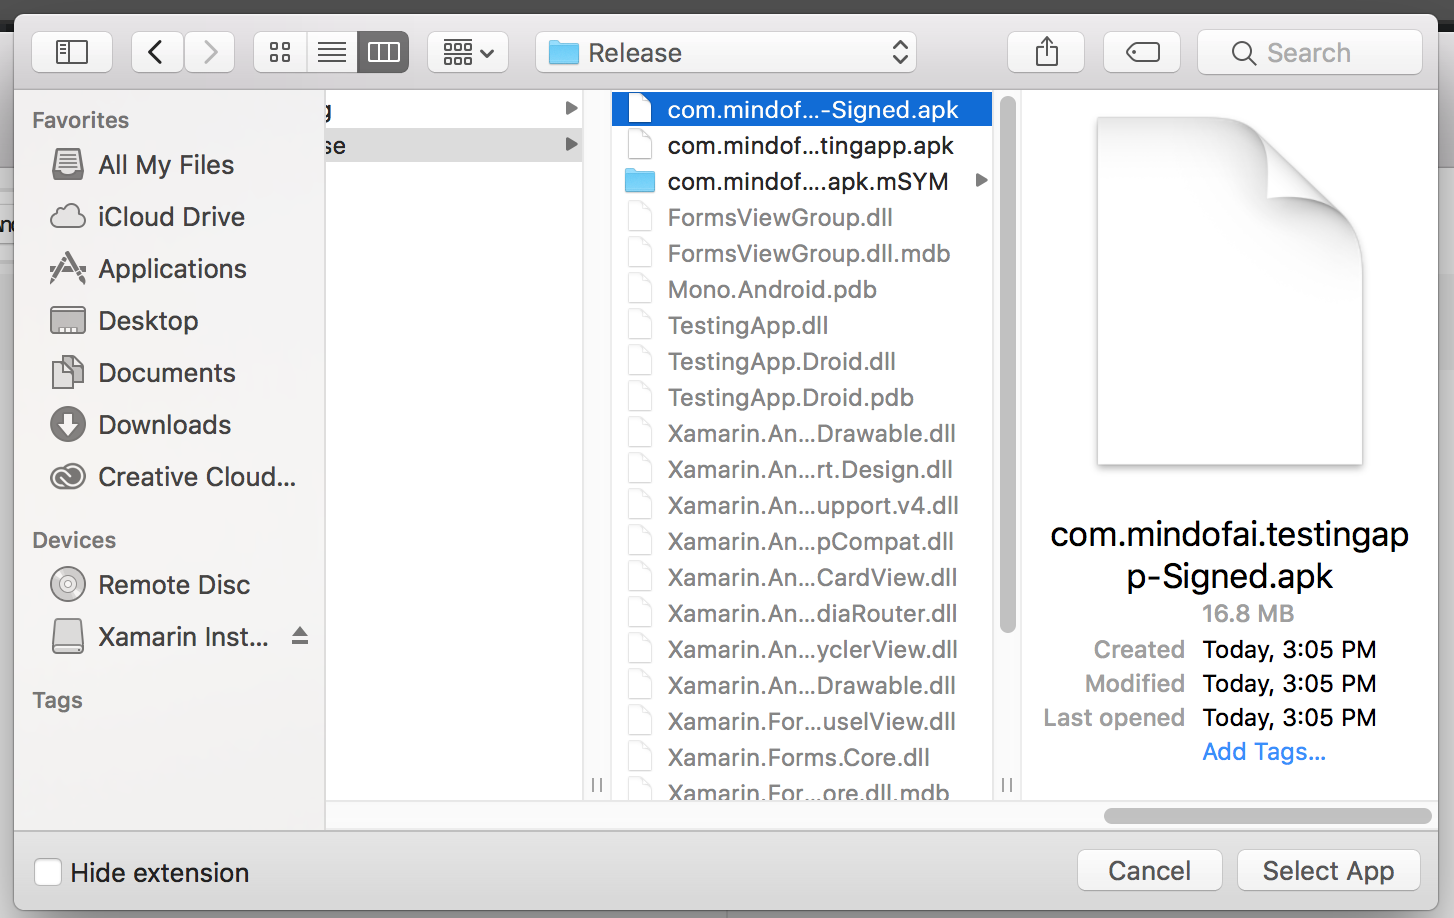
After selecting the device, the dropdown for the App will be enabled. When you click the dropdown, you will see the list of the applications that you recently used for recording. But, if this is your first time, you can select ‘Open’ to browse your files and select the application. For Android, you need an .apk file, sign or unsigned, and for iOS, you need an .app file.
Right after you select an application, the simulator (if you didn’t select a device) will launch instantly if it’s not already running. It’ll take less than a minute to launch the application. Once the application’s done launching, we can now start recording our automated test.
Let’s Start Recording!
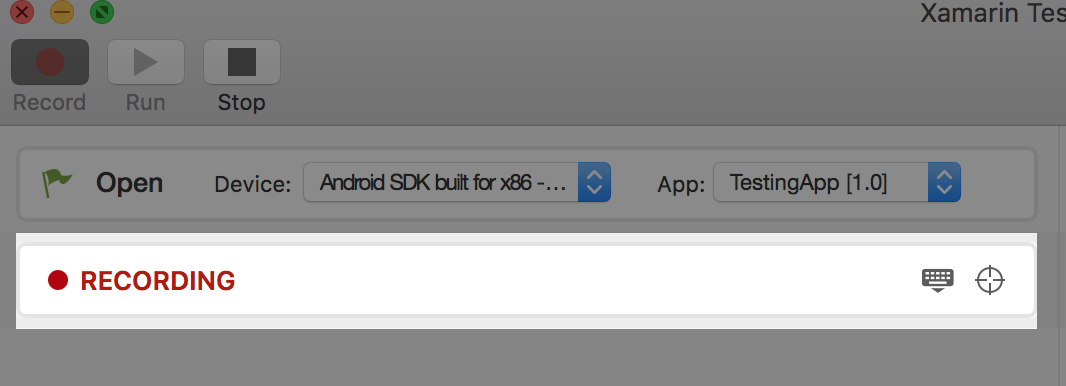
To start recording, you can press the record button at the top-left of the application. There will be an indicator that the Test Recorder is now recording any of your taps, swipes, and gestures. You can now interact with your application and do whatever you want to see on your automated test.
Everything you do with the app will be recorded. Each and every recorded step can be seen at the left-part of the application.
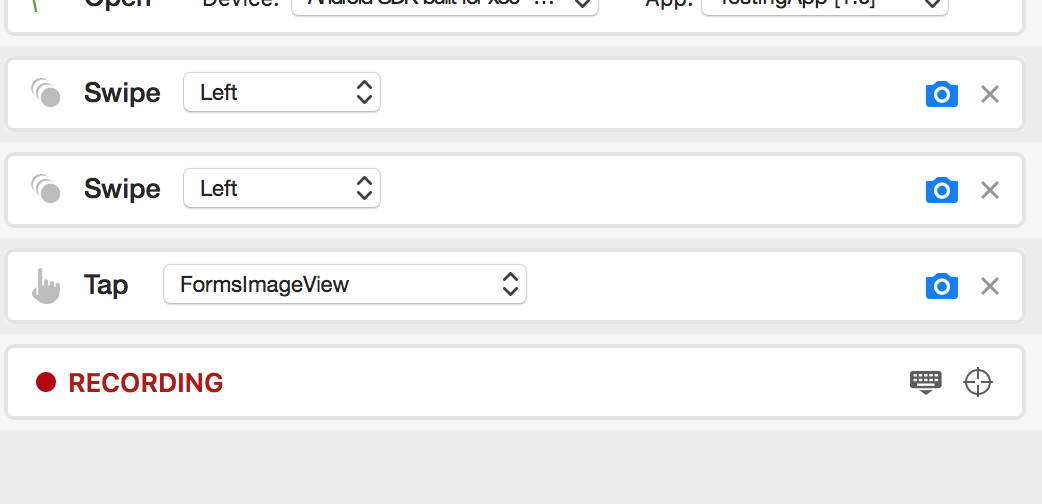
You can even modify each steps if you want. As you can see from this snap, you can update how you want to tap and swipe your application.
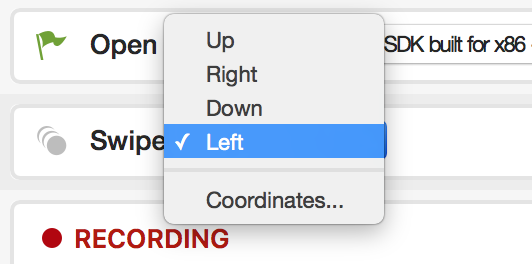
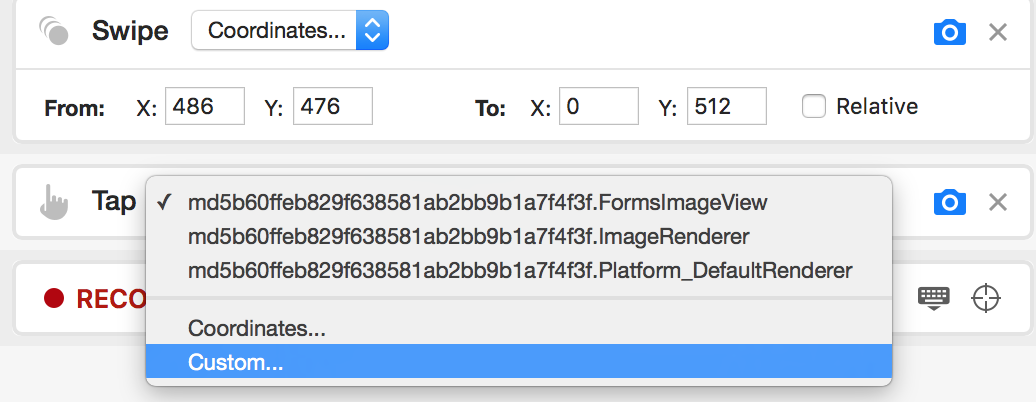
You can even use coordinates instead of calling controls and views. Lastly, you can also use Custom wherein you can use different properties so you can make sure you’re tapping what you want!
Really cool, right? Every step has a screenshot and remove button. Screenshot button allows you to take a snapshot right after executing the step. You can either enable or disable it.

There are also couple of features you can use in the Test Recorder as you record your test. You can dismiss the keyboard by pressing the ‘Dismiss Keyboard’ button. Beside the ‘Dismiss Keyboard’ is the button (forgot what it’s called) which can be used to declare that your app is waiting for a specific control or view to appear and continue the test’s execution.

This is really useful when your app is will generate a control or view ,opening a pop up, or navigating to another page.
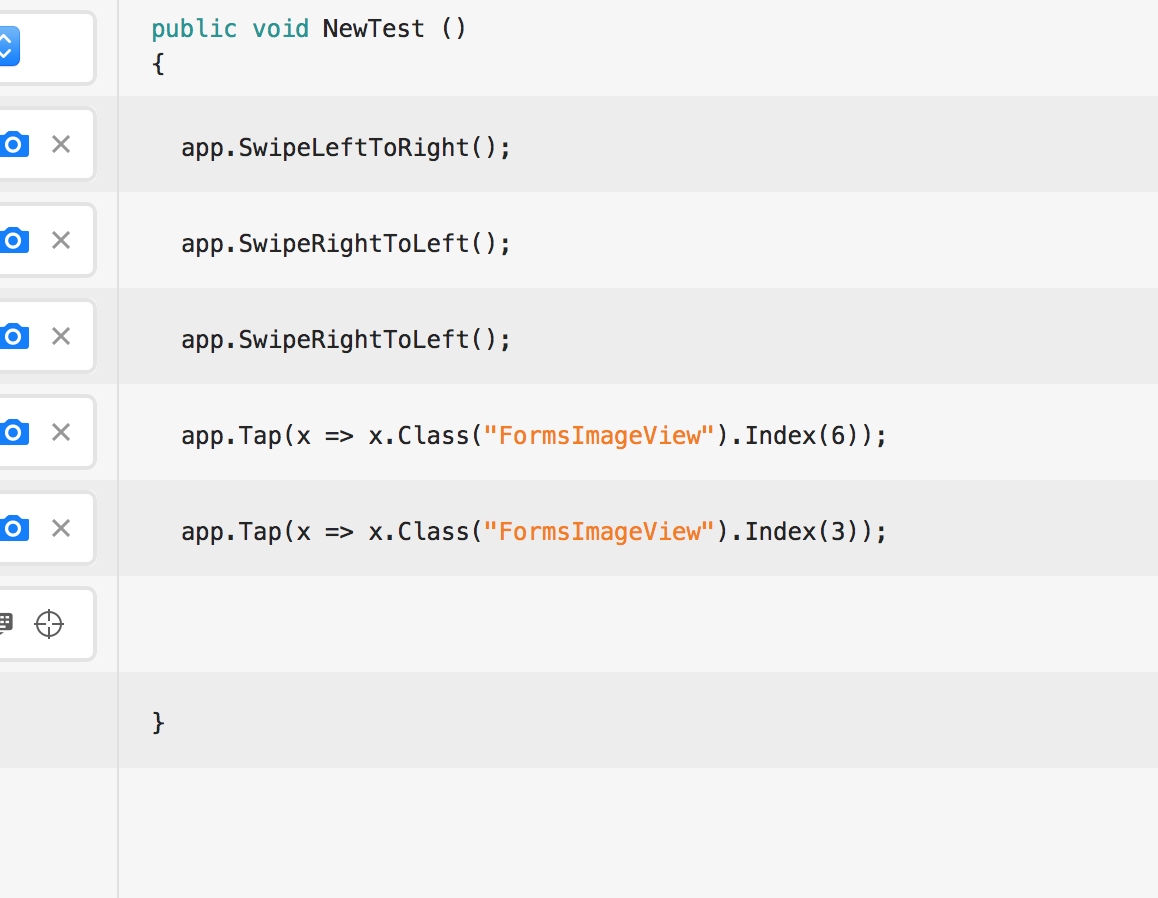
On the right part of your Test Recorder, you can see all of the steps generated converted into a Xamarin.UITest script. The script is automatically updated whenever you add or modify steps. Unfortunately, you can’t do it the other way around.
Once done recording all of your test’s steps, you can press the ‘Stop’ button and it will end the recording.
To check if your test is working properly or you just want to see how your test looks like, you can press the ‘Run’ button to simulate the test.
What’s the Next Step?
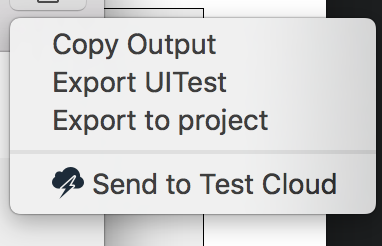
Now that you’re done with the recording, the next step is to actually use its output. Well, you have four options: First option is to copy the output or the test method to your clipboard and paste it on your project, probably.
Second one, ‘Export UITest’, is to export the test by creating a C# class with all of the required libraries are already referenced and can be saved anywhere in your computer.
Third one is ‘Export to Project’ which will generate a C# class, but will look for a Visual Studio project. Once you selected a project, it will use the project as its namespace, but other than that, it’s the same as the second one.
Lastly, you can send it to Xamarin Test Cloud and run your tests to thousands of actual Android and iOS devices where you can see how your app looks like on different devices and check if there are crashes or bugs, not only with the UI, but also with the data and logic. This is really significant because it allows to you build five-star applications. What do i mean by that? An app that doesn’t crash or doesn’t have bugs is for me a five-star application. By testing your applications on thousands of real devices in different OS, size, etc., you can easily inspect your app on devices and fix the bug/crash immediately.
Exporting UI Test to Xamarin Test Cloud
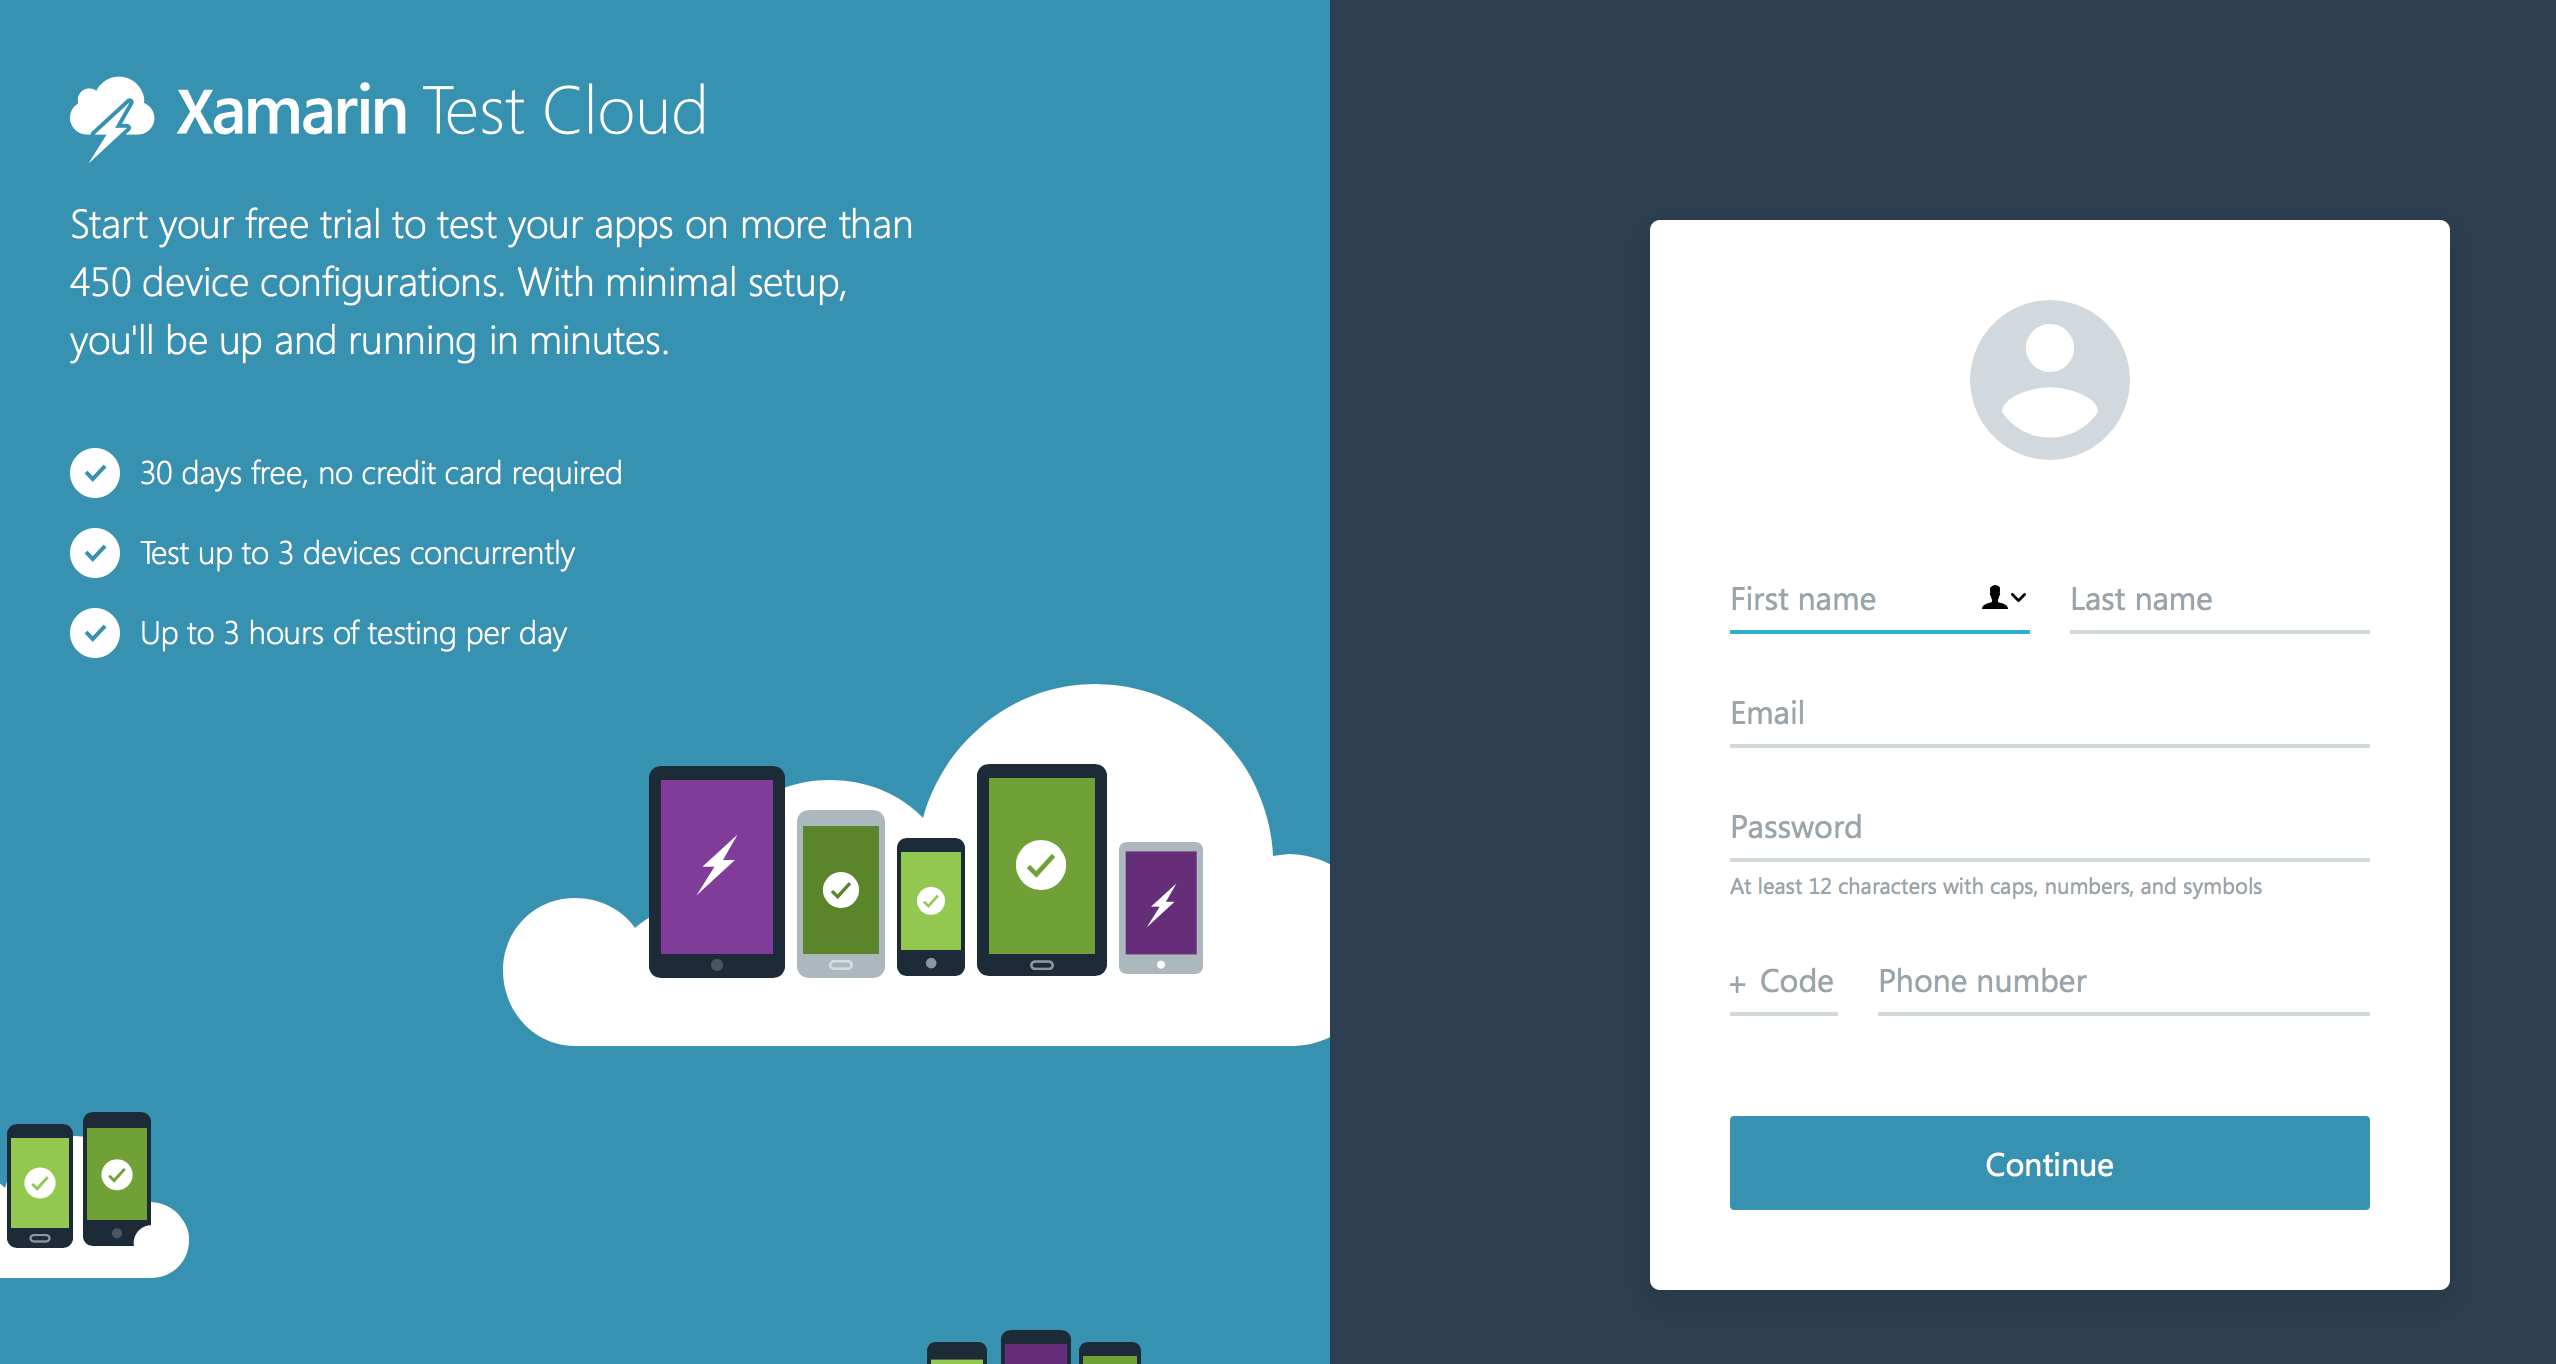
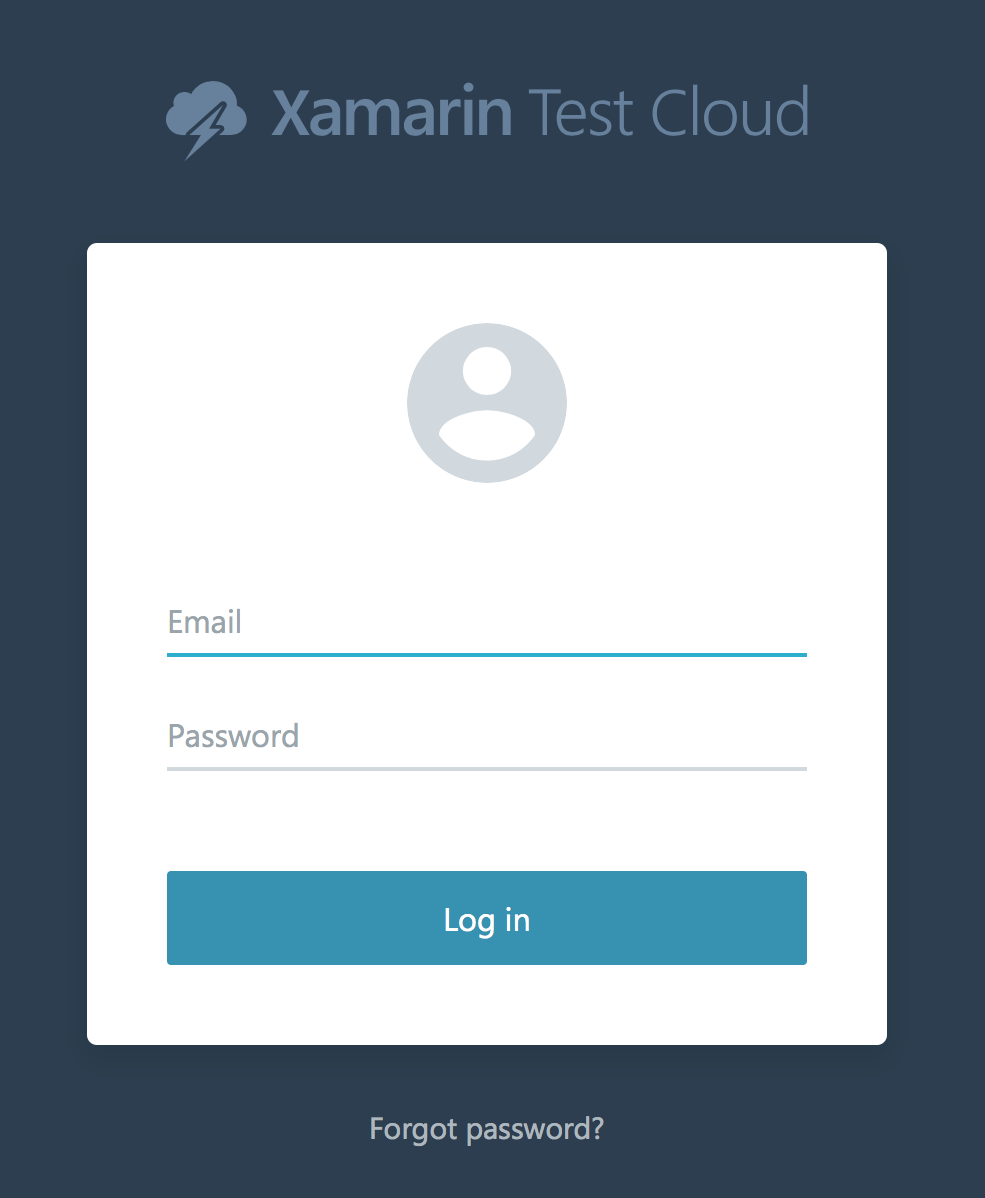
The fourth option is ‘Send to Test Cloud’ which will navigate you to the Xamarin Test Cloud web application when selected. If this is your first time to use Xamarin Test Cloud will ask you to login your account.
Xamarin Test Cloud is not for free, but it has a 30-day free trial which allows you to run your tests to three (3) devices.
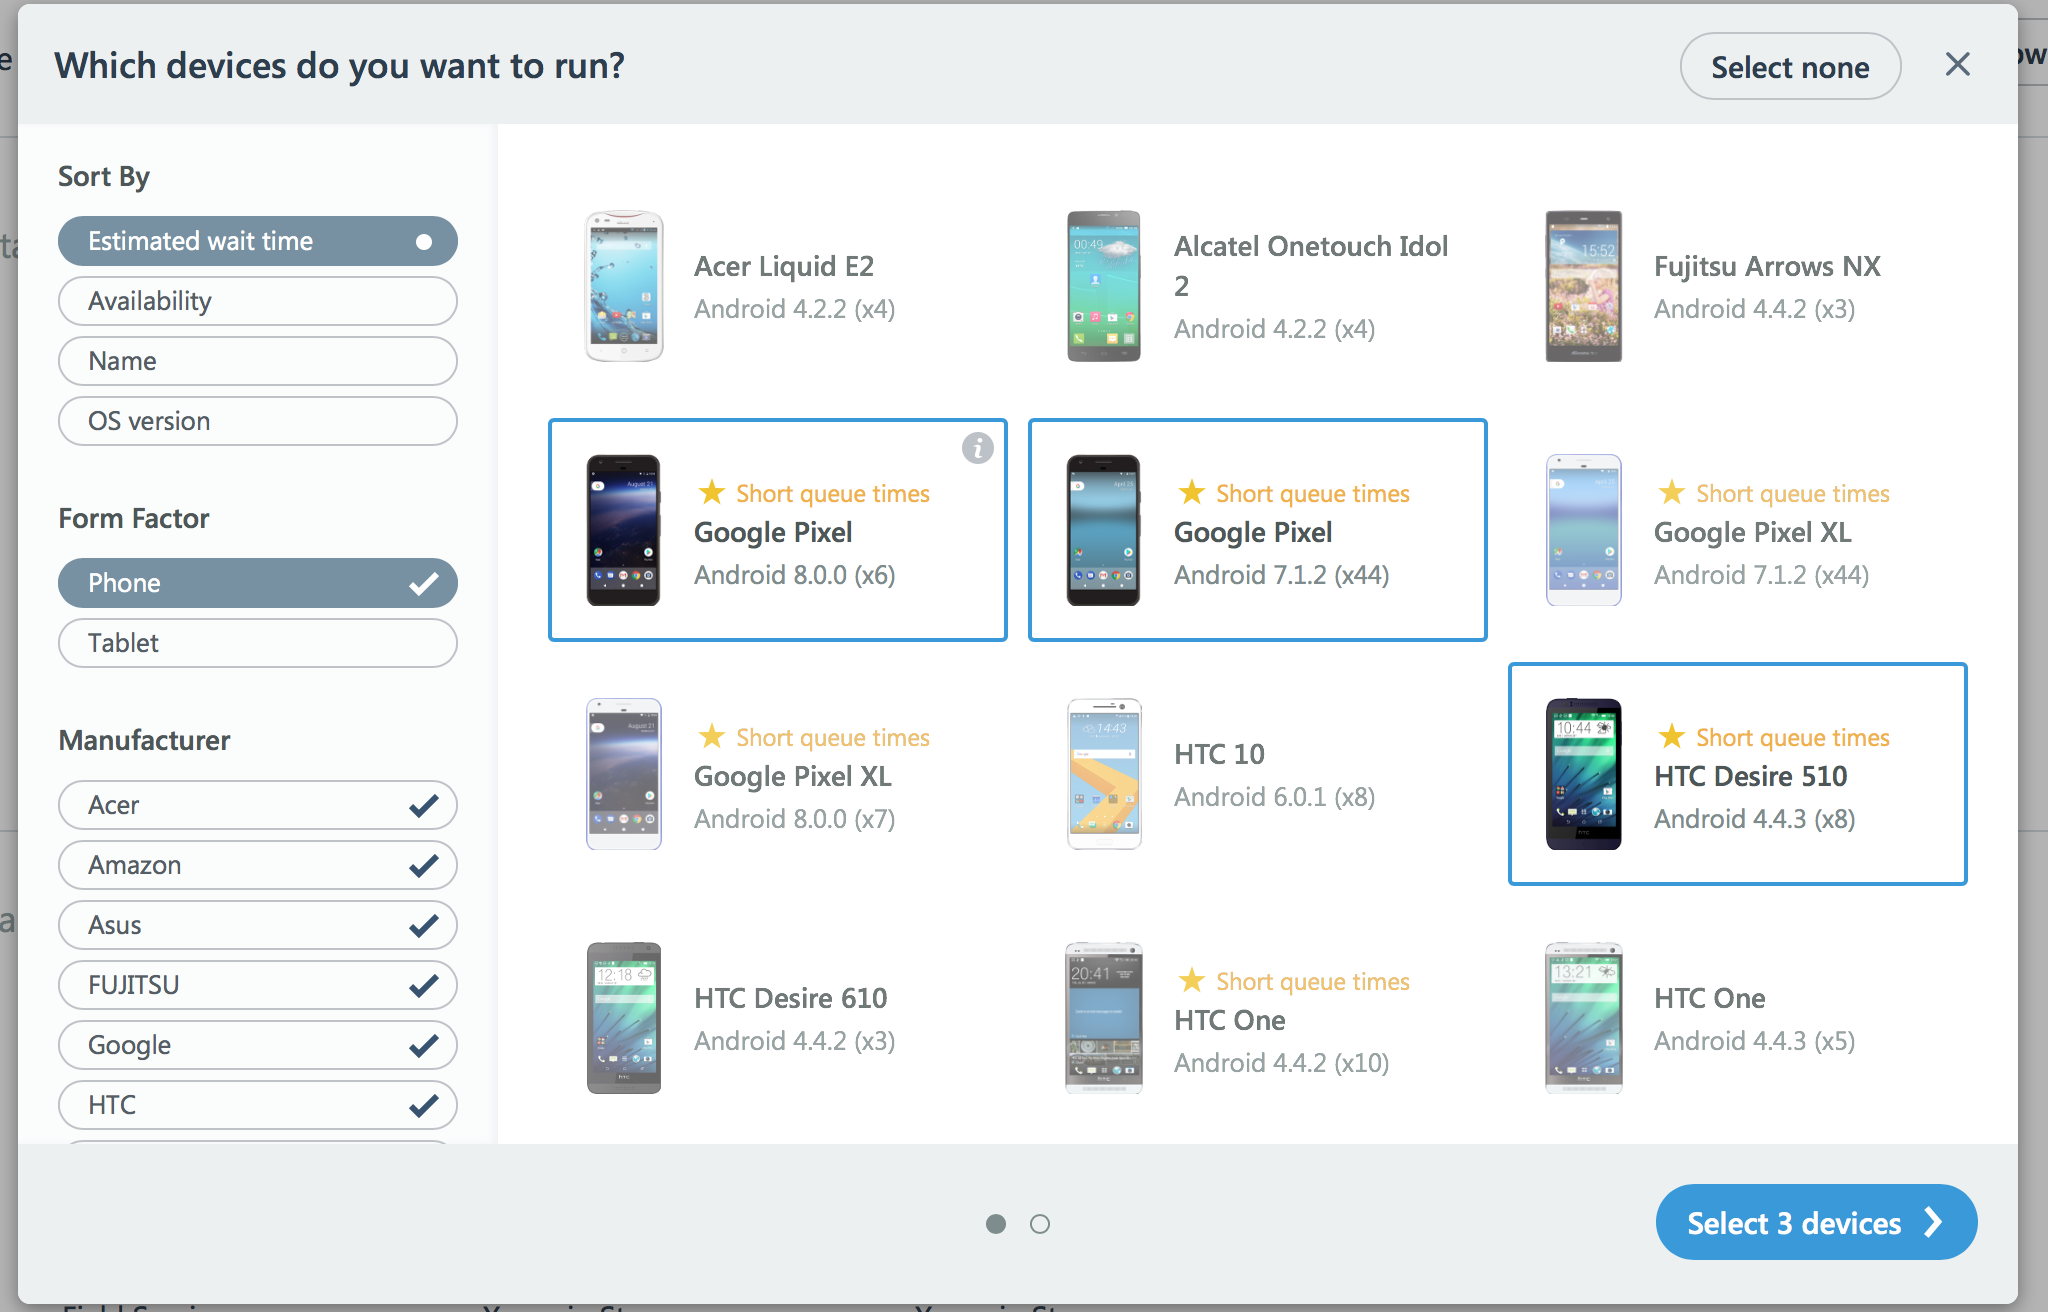
Once you’ve logged in, there will be a two-step modal where it allows you to select different devices where you want to test your application. You can select from thousands of iOS and Android devices with different OS, size, and brand.
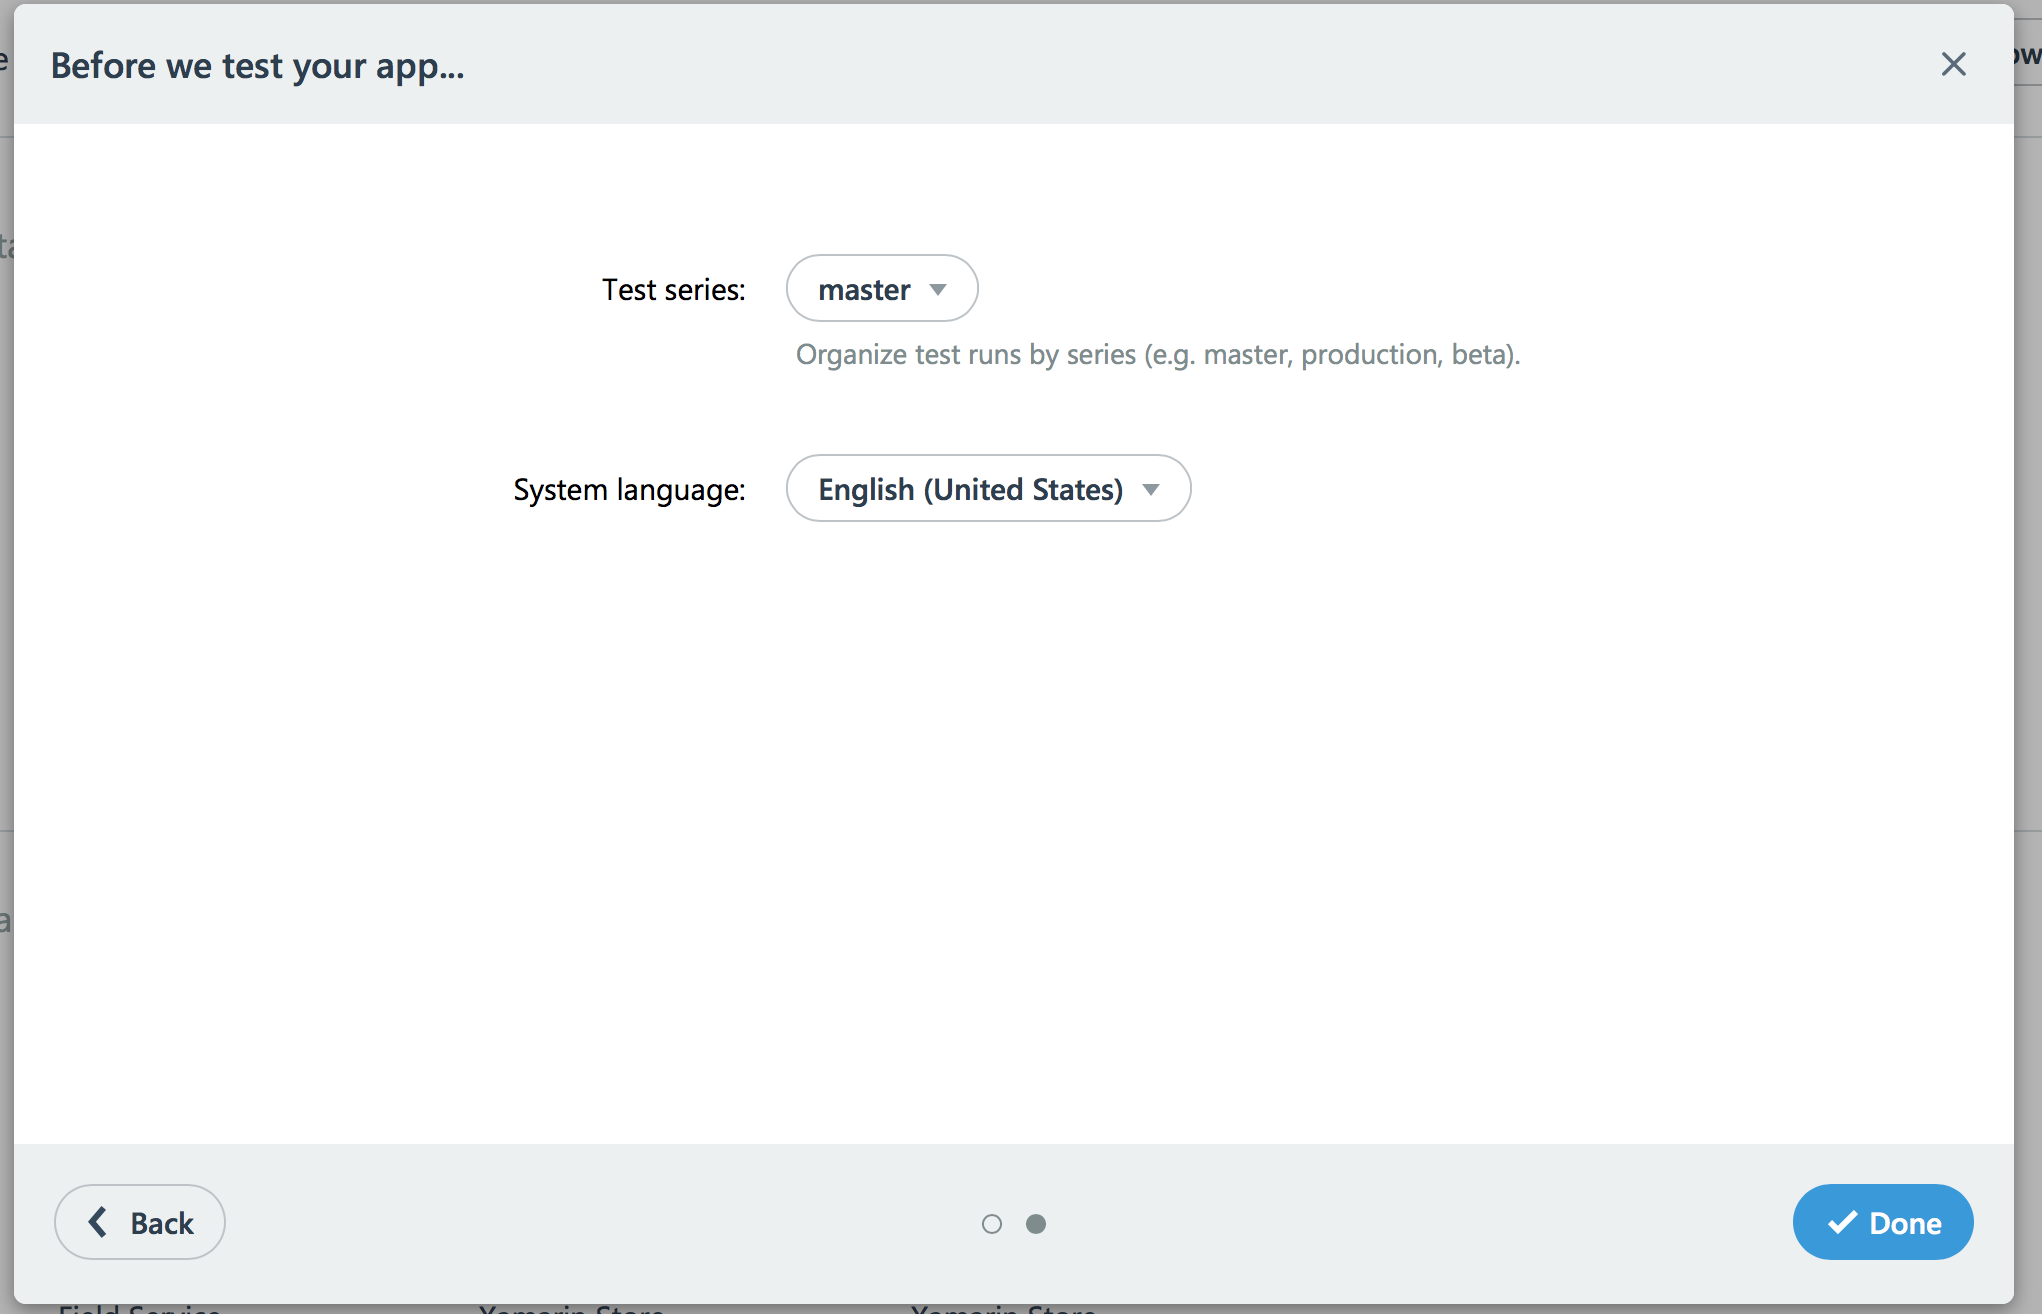
The next step allows you to select what test series do you want to run. Usually, if it’s from the Xamarin Test Recorder, it’s just a single test. After selecting, you can confirm the selection and proceed to the testing.
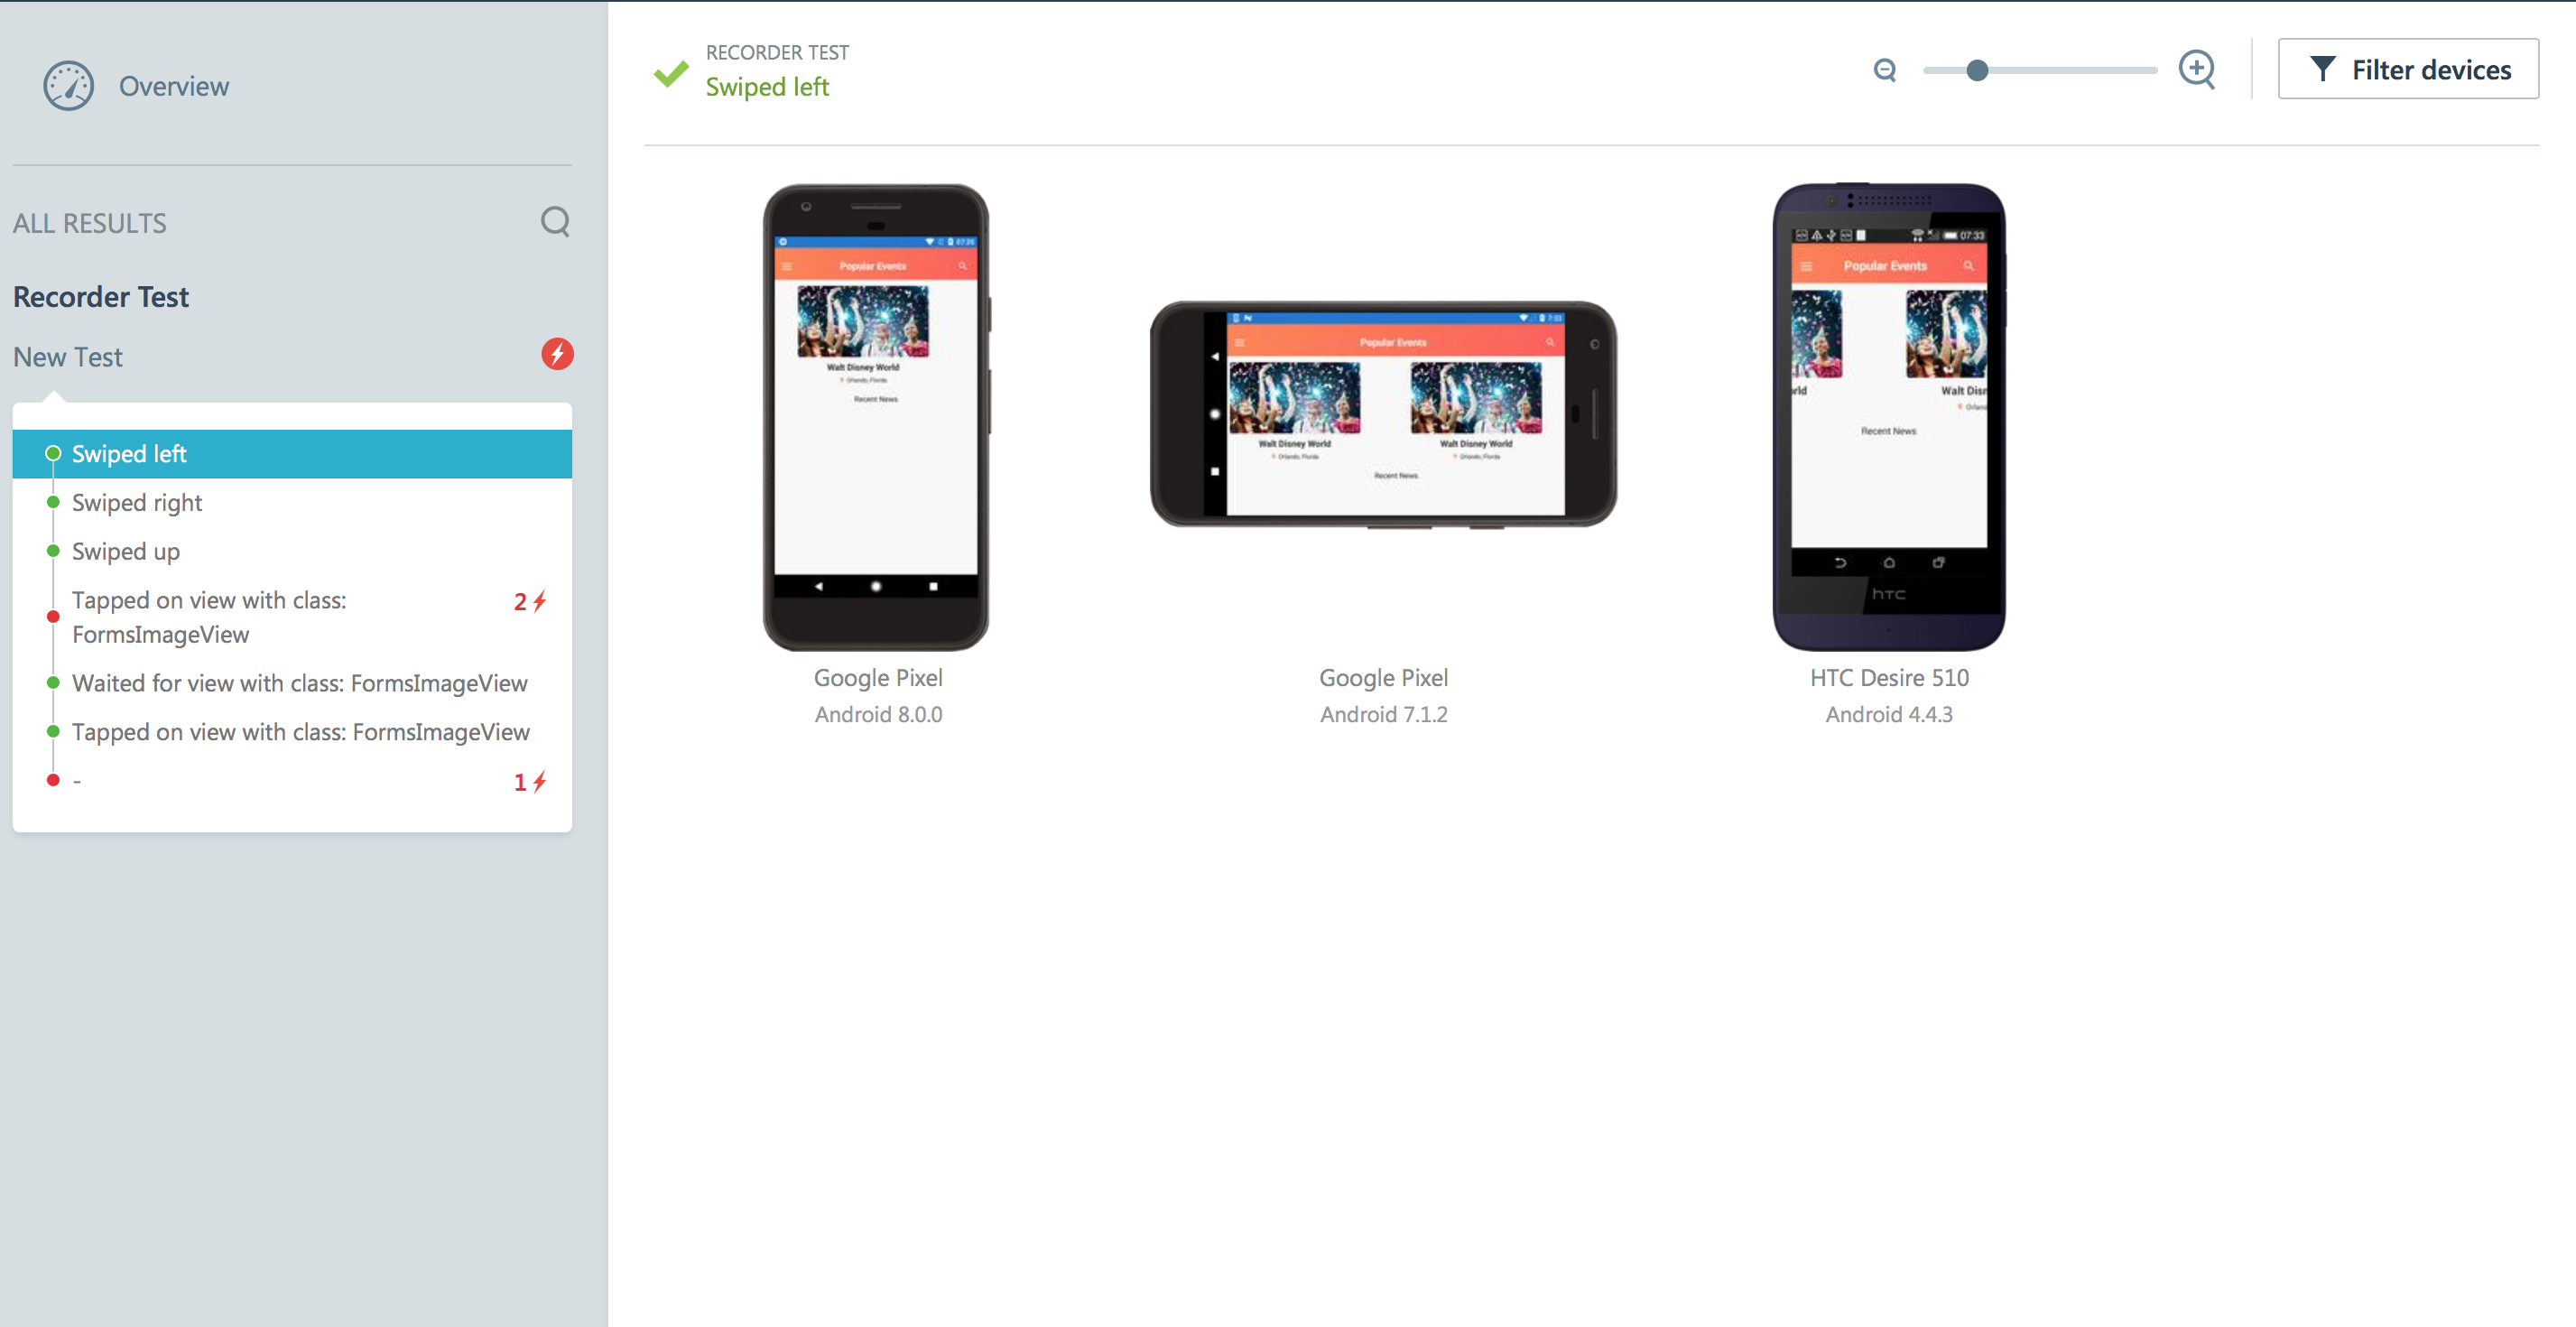
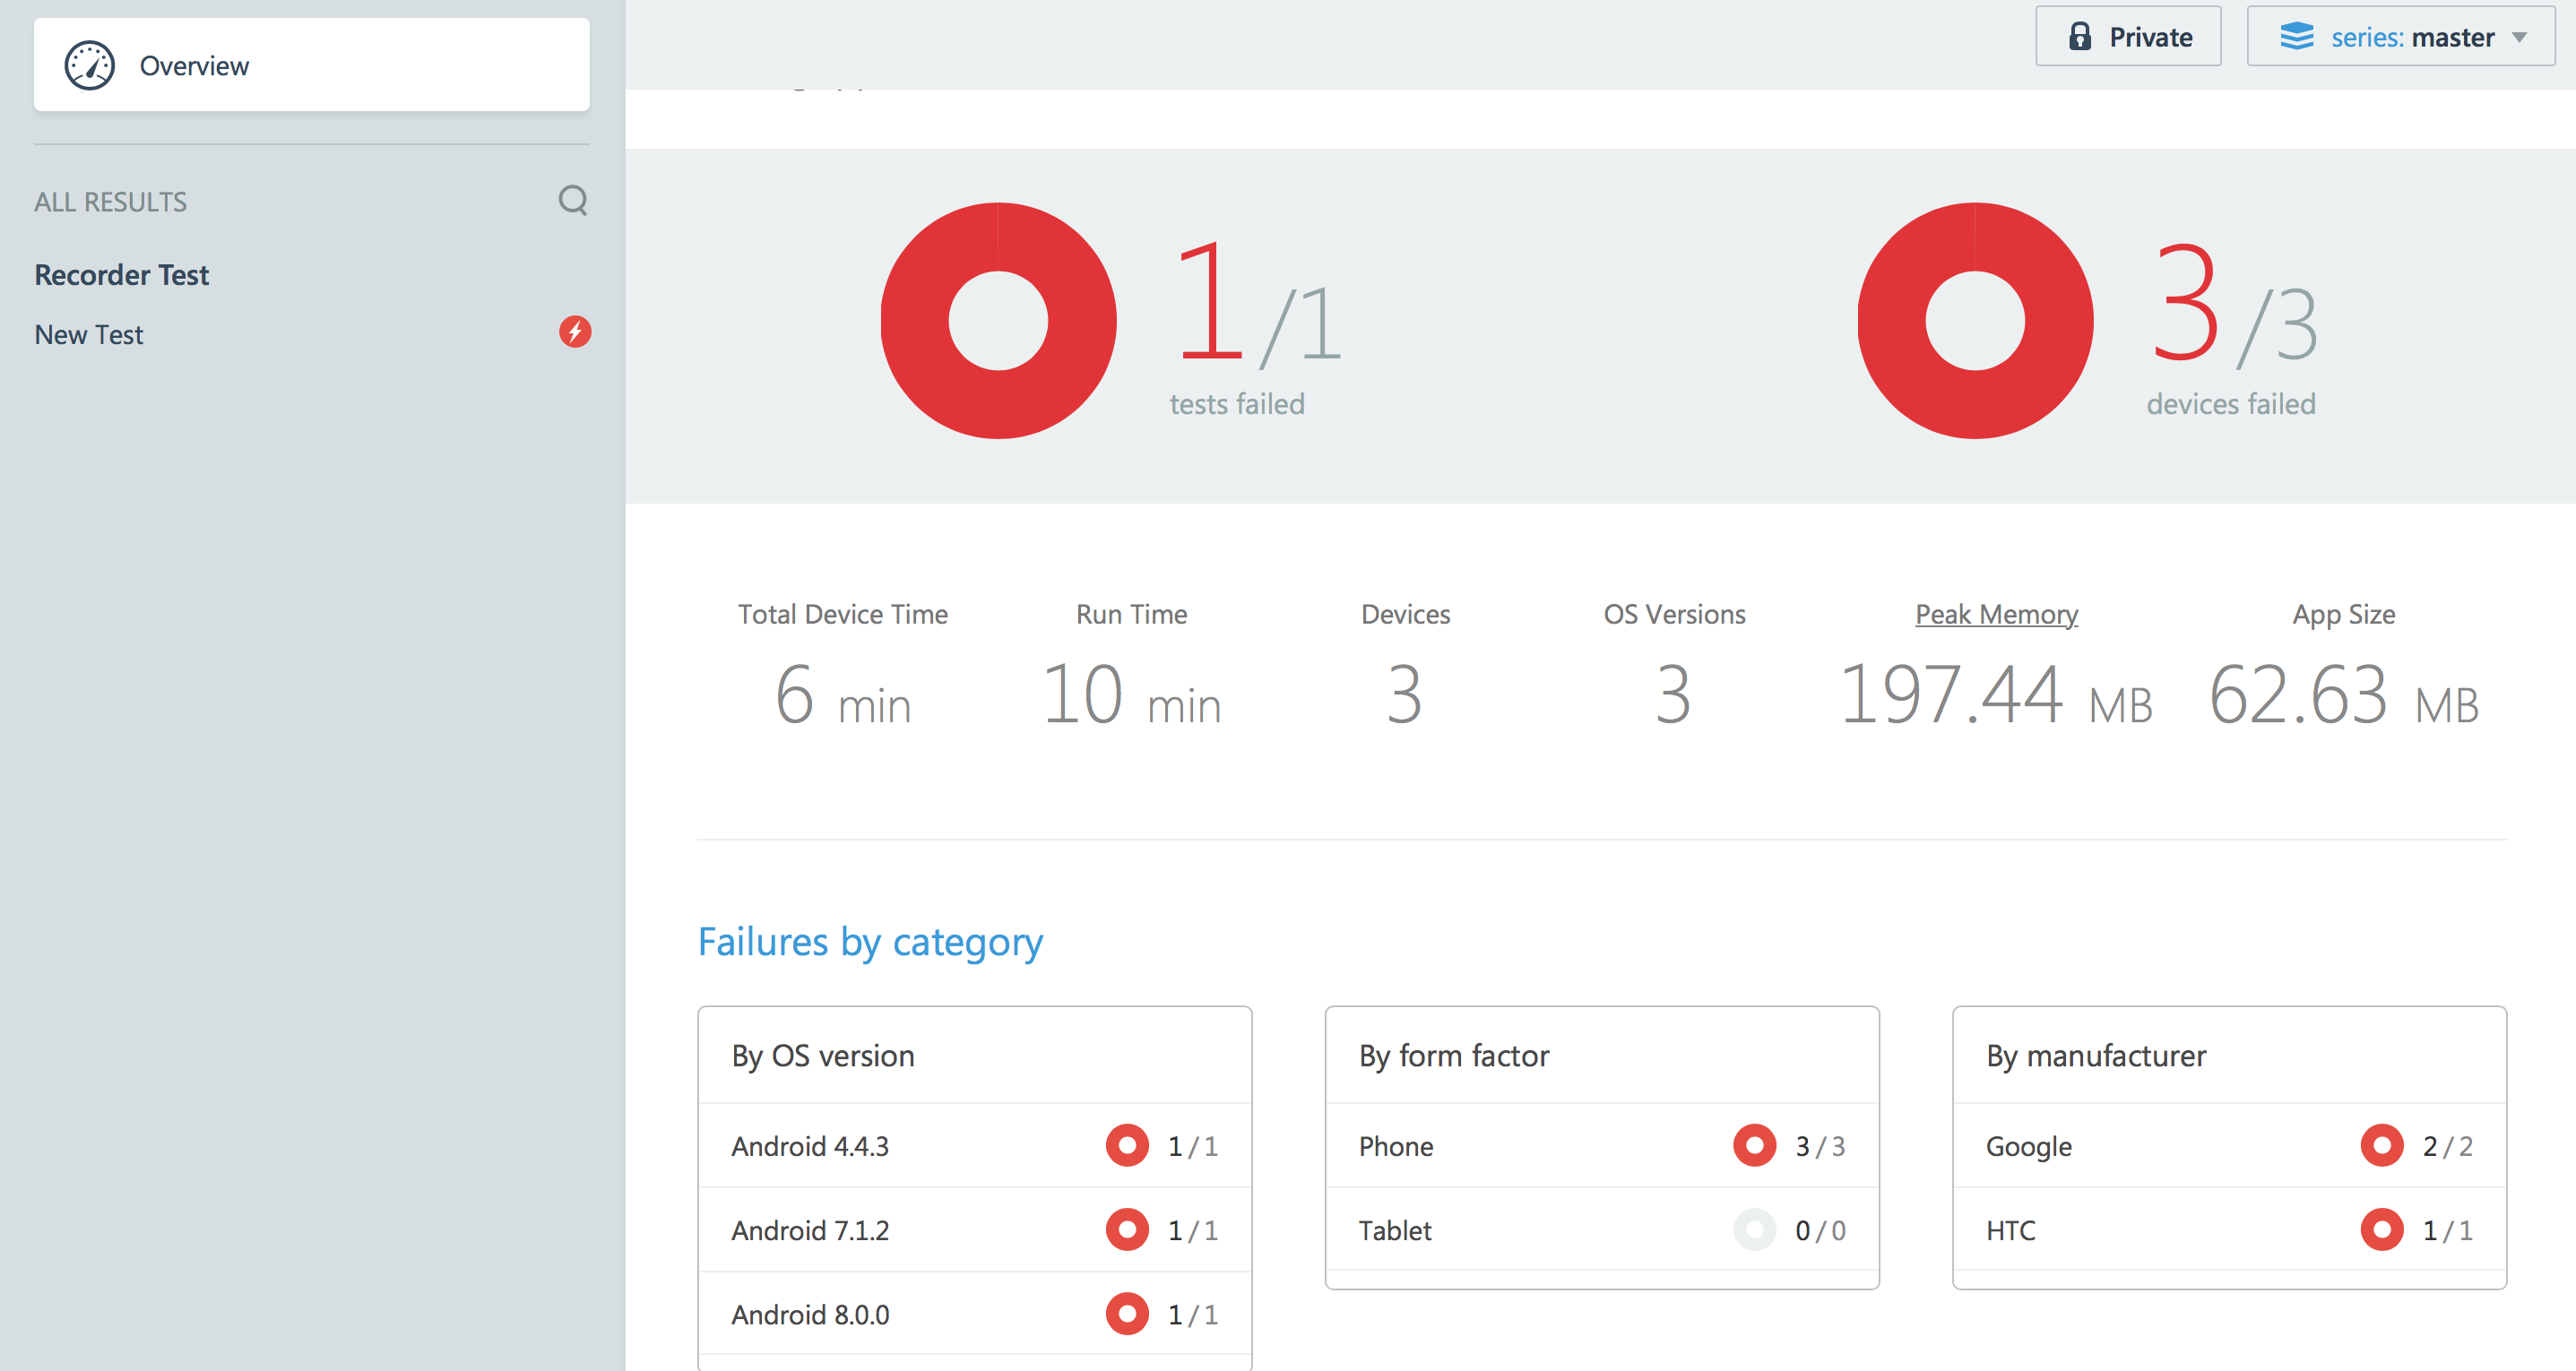
It will take more than 5 minutes to test your application (atleast for 3 devices) and once done, you will be able to see the output of your test to all selected devices. You can see if the test passed and how it looks like on each device which is really really awesome!
Wrapping Up
You can now easily create a test by just recording your manual UI test using Xamarin Test Recorder. Even a person who doesn’t know how to code can use this and generate a test script for the automated UI testing. I’ve also shown what Xamarin Test Cloud is capable of. Integrating the two allows you to easily create UI tests and running it to thousands of devices without typing any code! I really hope this can get you excited with the Xamarin Test Recorder because I’m really hyped up, too! Hopefully, you’ll use this in the future.
References